Easy Homemade Strawberry Ice Cream Recipe
Homemade strawberry ice cream isn’t just a dessert; it’s a summer ritual. There’s something incredibly satisfying about scooping into a bowl of creamy, cold perfection that you’ve crafted with your own two hands. We all adore it, don’t we? That vibrant pink hue, the sweet and slightly tart burst of fresh strawberries – it’s pure sunshine in every spoonful. Forget those chalky, overly sweet store-bought versions. This homemade strawberry ice cream recipe delivers an unparalleled depth of flavor, thanks to using the ripest, most fragrant berries you can find. It’s a celebration of simplicity and the incredible taste of nature’s candy. Get ready to experience the ultimate delight of making your very own batch of this beloved classic.
Why This Recipe is a Game-Changer:
Using fresh, ripe strawberries is key to unlocking the true magic of this homemade strawberry ice cream.
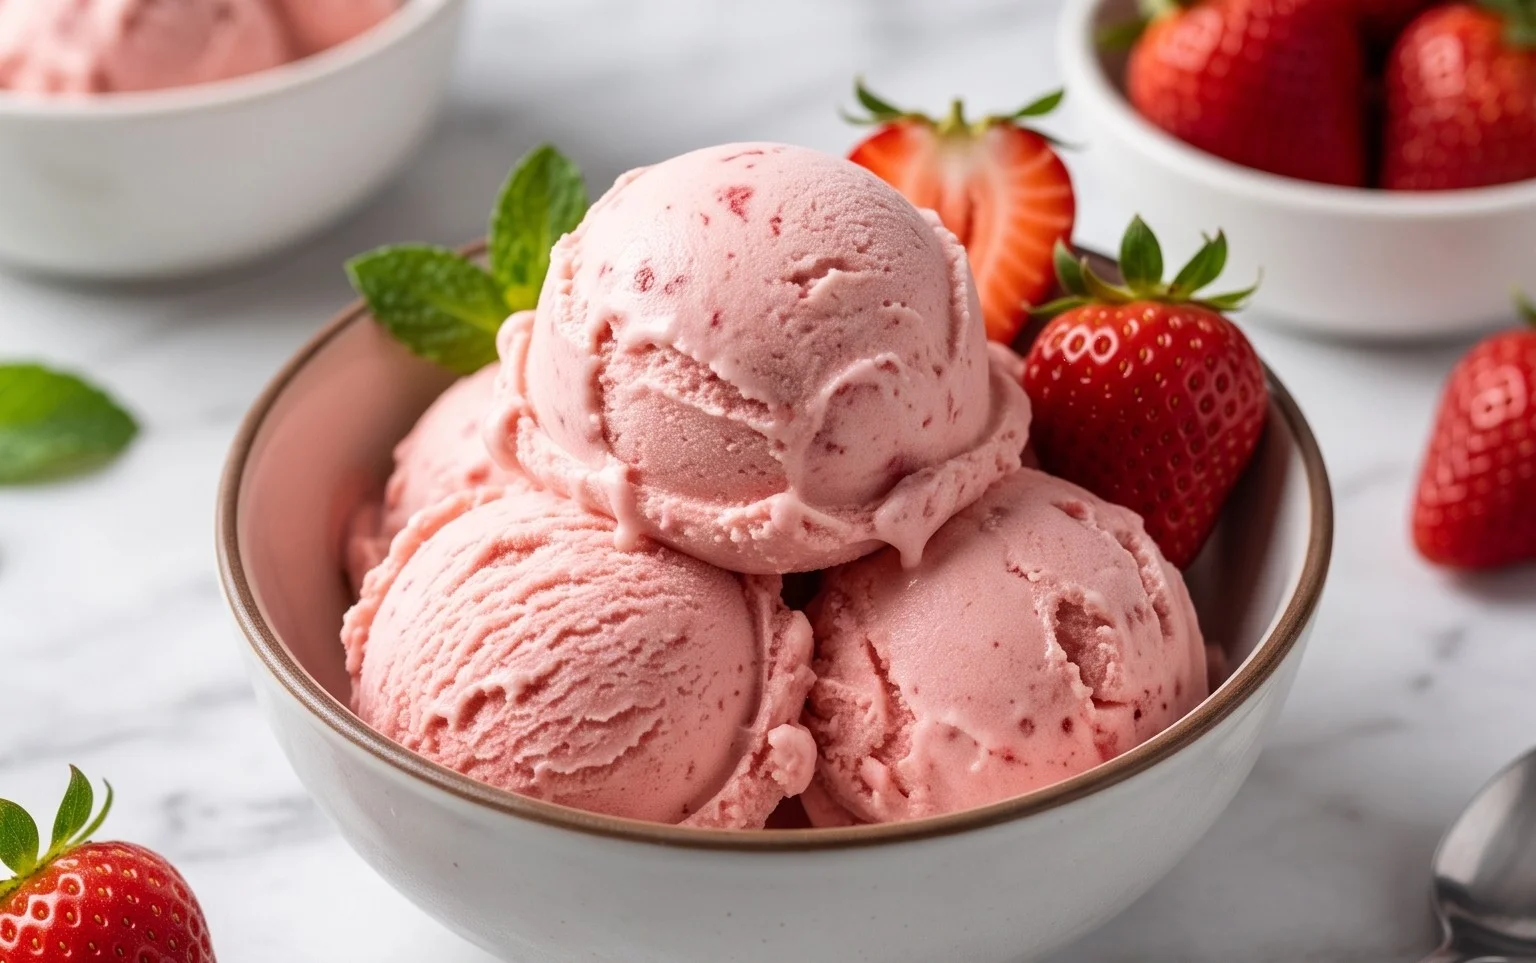
Homemade Strawberry Ice Cream
There’s something undeniably magical about homemade ice cream, and when it’s bursting with the sweet, vibrant flavor of fresh strawberries, it’s pure summer bliss in a bowl. Forget those store-bought tubs with artificial flavors and unpronounceable ingredients. This recipe for homemade strawberry ice cream is surprisingly simple and yields a creamy, dreamy dessert that will have everyone beggin extractg for seconds. Using just a handful of quality ingredients, we’ll transform humble strawberries into a frozen masterpiece.
This recipe is perfect for a warm afternoon, a special occasion, or simply because you deserve a treat. The beauty of making your own ice cream lies in the control you have over the ingredients and the intense, natural flavor you can achieve. We’re going to create a rich, custard-like base that is then infused with the incredible essence of ripe strawberries. The honey adds a subtle floral note that complements the strawberries beautifully, while the lemon juice brightens everything up, preventing the sweetness from becoming cloying.
Ingredients:
Instructions:
1.
Preparing the Strawberry Puree:
Start by preparing your strawberries. Wash them thoroughly, remove the green hulls, and then dice them into small, bite-sized pieces. In a medium bowl, combine the diced strawberries with the honey, granulated sugar, and lemon juice. Stir gently to coat the strawberries evenly. The sugar and honey will begin extract to draw out the juices from the strawberries, creating a syrupy mixture. Let this mixture sit at room temperature for at least 30 minutes, or even up to an hour. This maceration process is crucial because it intensifies the strawberry flavor and softens them, making them easier to blend into a smooth puree. You’ll notice the liquid deepening in color and the aroma of strawberries becoming more pronounced. This is your flavor base developing!
2.
Creating the Ice Cream Base:
While the strawberries are macerating, let’s prepare the creamy base. In a separate, clean bowl, combine the heavy whipping cream, half and half, and vanilla extract. Whisk these ingredients together until they are well combined. You don’t need to whip the cream into stiff peaks; we’re just aiming for a smooth, homogeneous liquid. This combination of heavy cream and half and half will give us that perfect balance of richness and a lighter, more scoopable texture. The vanilla extract acts as a flavor enhancer, rounding out the sweetness and making the strawberry flavor pop even more.
3.
Pureeing the Strawberries:
Once your strawberries have macerated and released their delicious juices, it’s time to transform them into a smooth puree. You can achieve this in a couple of ways. For a super smooth texture, transfer the strawberry mixture (including all the syrupy liquid) to a blender or food processor. Blend until the strawberries are completely liquefied. If you prefer a bit of texture in your ice cream, you can use an immersion blender directly in the bowl, or even mash them thoroughly with a fork or potato masher, leaving some small pieces for visual appeal and a slight textural contrast. The goal is to have a vibrant, ruby-red puree.
4.
Combining and Chilling the Base:
Now, it’s time to bring everything together. Pour the strawberry puree into the cream mixture. Whisk gently until the strawberry puree is fully incorporated into the dairy base. You should have a beautiful, pnon-alcoholic ale pink liquid that smells wonderfully of fresh strawberries and cream. For the best texture, it’s essential to chill this ice cream base thoroughly before churning. Cover the bowl tightly with plastic wrap and refrigerate for at least 4 hours, or preferably overnight. The colder the base, the faster it will churn and the creamier your ice cream will be. This chilling period allows the flavors to meld and ensures the base is cold enough to freeze properly in your ice cream maker.
5.
Churning Your Ice Cream:
Once your base is thoroughly chilled, it’s time for the magic of churning! Follow the manufacturer’s instructions for your specific ice cream maker. Typically, you’ll pour the chilled base into the frozen bowl of your ice cream maker and let it churn for 20-30 minutes, or until it reaches a soft-serve consistency. As it churns, the mixture will thicken and become frosty. Resist the urge to over-churn; you want it to be soft enough to still scoop easily but not liquid. If you’re using an ice cream maker that allows for mix-ins, you can add finely chopped strawberries at the last few minutes of churning for extra bursts of fruit.
6.
Freezing to Perfection:
The ice cream will be quite soft after churning, similar to soft-serve. To achieve a firmer, scoopable ice cream, transfer the churned mixture to an airtight freezer-safe container. Press a piece of parchment paper or plastic wrap directly onto the surface of the ice cream to prevent ice crystals from forming. Seal the container and place it in the freezer for at least 4-6 hours, or until it’s firm enough to scoop. For the easiest scooping, let the ice cream sit at room temperature for about 5-10 minutes before serving. Enjoy your delicious, homemade strawberry ice cream!
Conclusion:
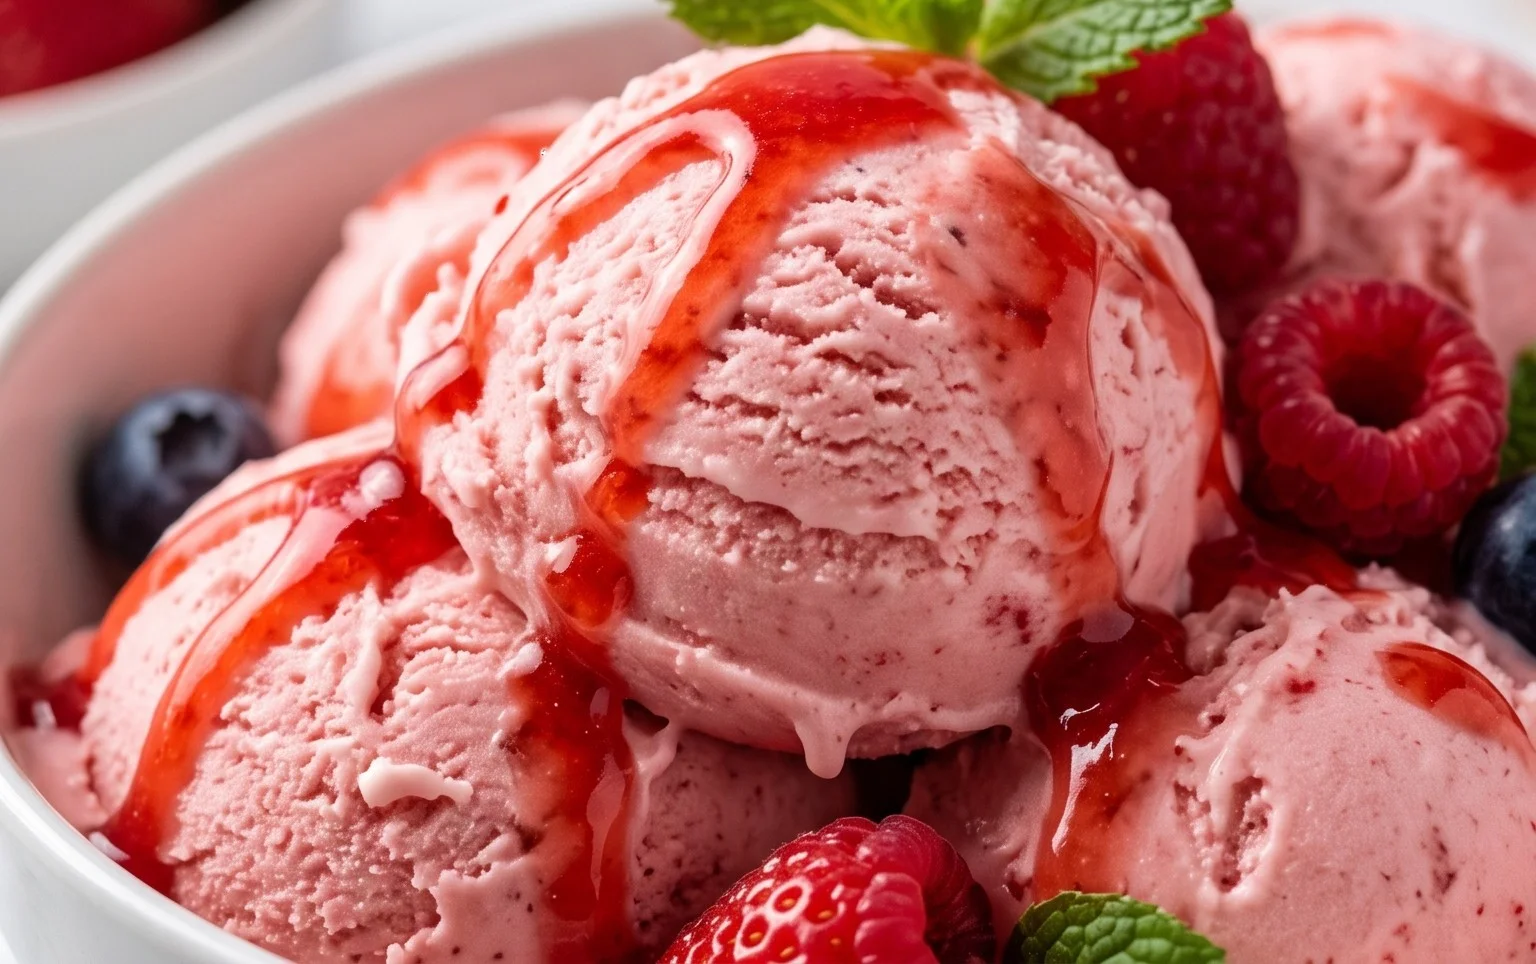
So there you have it – your very own, incredibly delicious homemade strawberry ice cream! I hope you’ve enjoyed learning how easy and rewarding it is to create this classic frozen treat from scratch. This recipe truly shines because it uses fresh, ripe strawberries, allowing their natural sweetness and vibrant flavor to take center stage. Unlike store-bought options, you control the ingredients, ensuring a pure, unadulterated taste experience. The creamy texture, achieved with simple dairy and a touch of sugar, is simply irresistible. It’s the perfect way to capture the essence of summer in every spoonful.
Serving this delightful homemade strawberry ice cream is a joy. It’s fantastic on its own, but also pairs wonderfully with warm brownies, apple pie, or a slice of angel food cake. For variations, consider adding a swirl of balsamic glaze for a surprisingly sophisticated flavor profile, or folding in some fresh basil for a unique herbaceous twist. You could also experiment with different types of dairy, like using heavy cream and half-and-half for an extra-rich texture. Don’t be afraid to adjust the sweetness to your preference. I truly encourage you to give this recipe a try; the satisfaction of scooping into your own perfectly churned, flavorful ice cream is unparalleled!
Frequently Asked Questions about Homemade Strawberry Ice Cream:
Q: My ice cream isn’t as firm as I’d like. What can I do?
A: If your ice cream is too soft, it might be due to the fat content or sugar levels. Using a higher ratio of heavy cream can help create a firmer texture. Alternatively, you can try incorporating a small amount of corn syrup or a stabilizer like a tablespoon of vodka extract (which lowers the freezing point without affecting the taste noticeably) to prevent large ice crystals from forming. Make sure your ice cream maker bowl is sufficiently frozen, and chill the ice cream thoroughly in the freezer for at least 2-4 hours after churning before serving.
Q: Can I make this recipe without an ice cream maker?
A: Absolutely! While an ice cream maker churns the mixture to create a smoother texture, you can achieve delicious results without one. Prepare the base as directed, pour it into a shallow freezer-safe container, and freeze. Every 30-45 minutes for the first 2-3 hours, remove the container from the freezer and vigorously whisk or beat the mixture with a fork or hand mixer to break up ice crystals. This manual churning process will help create a creamier consistency.
Homemade Strawberry Ice Cream
A simple and delicious homemade strawberry ice cream recipe, perfect for a sweet treat.
Ingredients
-
1 1/2 cups strawberries, hulled and diced
-
2 Tbsp honey
-
1/2 cup granulated sugar
-
1 tsp lemon juice
-
1 cup heavy whipping cream
-
1/2 cup half and half
-
1 tsp vanilla extract
Instructions
-
Step 1
Combine hulled and diced strawberries with honey, granulated sugar, and lemon juice in a bowl. Let sit for 15-20 minutes to macerate. -
Step 2
Puree the strawberry mixture using an immersion blender or in a standard blender until smooth. -
Step 3
In a separate bowl, whisk together the heavy whipping cream, half and half, and vanilla extract until well combined. -
Step 4
Pour the strawberry puree into the cream mixture and stir until evenly incorporated. -
Step 5
Chill the mixture thoroughly in the refrigerator for at least 2 hours, or preferably overnight. -
Step 6
Pour the chilled mixture into an ice cream maker and churn according to the manufacturer’s instructions. -
Step 7
Transfer the churned ice cream to an airtight container and freeze for at least 4 hours before serving.
Important Information
Nutrition Facts (Per Serving)
It is important to consider this information as approximate and not to use it as definitive health advice.
Allergy Information
Please check ingredients for potential allergens and consult a health professional if in doubt.