Easy Homemade Fruit Leather Recipe-Sweet Treat
Homemade fruit leather is a nostalgic treat that instantly transports me back to sunny afternoons and childhood joy. There’s something undeniably magical about peeling back that slightly chewy, vibrantly colored strip and savoring the concentrated essence of pure fruit. Unlike store-bought versions, which often contain added sugars and artificial ingredients, this homemade fruit leather recipe lets you control exactly what goes in, making it a healthier and more satisfying snack for everyone. What truly makes this dish special is its incredible versatility; you can use virtually any fruit you have on hand, from ripe berries bursting with flavor to sweet peaches or tangy apples. The simple process of pureeing, spreading, and dehydrating transforms humble fruit into an irresistible, portable snack that’s perfect for lunchboxes, hikes, or simply a guilt-free indulgence.
Homemade Fruit Leather Recipe
There’s something incredibly satisfying about making your own snacks, and fruit leather is a perfect example. It’s a delicious, healthy, and fun way to preserve fresh fruit, transforming it into chewy, tangy strips that are a hit with both kids and adults. Forget those store-bought varieties with their long ingredient lists and questionable additives. With just a few simple ingredients and a bit of patience, you can create your own vibrant and flavorful fruit leather right in your kitchen. This recipe is incredibly versatile, meaning you can use your favorite seasonal fruits to create a unique taste experience every time. Imagin extracte the bright sweetness of strawberries, the tartness of raspberries, or the tropical allure of mangoes – all captured in a wonderfully chewy treat.
Ingredients:
Instructions:
The process of making fruit leather is surprisingly straightforward, focusing on concentrating the natural flavors of the fruit. The key is to reduce the moisture content significantly to achieve that characteristic chewy texture.
Preparing the Fruit
The first step is to prepare your chosen fruit. Wash it thoroughly if using fresh. For fruits like berries, a simple rinse will suffice. For fruits with pits or cores, like peaches or plums, you’ll need to remove them. Apples and pears should be cored. Chop the fruit into relatively small, uniform pieces. This helps ensure even cooking and makes it easier to blend into a smooth purée. If you’re using frozen fruit, there’s no need to thaw it completely; you can usually work with it partially thawed. The goal is to have about 2 cups of chopped fruit. I often like to mix fruits for a more complex flavor profile, perhaps strawberries and a touch of apple for sweetness and body.
Cooking and Blending the Fruit
Once your fruit is chopped, it’s time to start cooking it down. Transfer the chopped fruit to a saucepan. Add the 3 tablespoons of white sugar and the juice from half a lemon. The sugar helps to sweeten the fruit leather and also acts as a mild preservative. The lemon juice brightens the fruit’s natural flavor and adds a pleasant tangin extractess that balances the sweetness. It also helps to prevent browning in some fruits. Stir everything together. Place the saucepan over medium heat. You want to bring the mixture to a gentle simmer, stirring occasionally. Cook for about 10-15 minutes, or until the fruit has softened considerably and begun to break down. The liquid released from the fruit should have reduced slightly.
After the fruit has softened, you’ll need to transform it into a smooth purée. The easiest way to do this is with an immersion blender directly in the saucepan. If you don’t have an immersion blender, you can carefully transfer the hot mixture to a regular blender. Be very cautious when blending hot liquids – fill the blender only about halfway and hold the lid down firmly with a kitchen towel. Blend until the mixture is completely smooth, with no chunks of fruit remaining. If the purée seems too thick to blend easily, you can add a tablespoon or two of water, but aim for a thick, spoonable consistency.
Dehydrating the Purée
Now comes the part that requires patience: dehydrating the fruit purée. You have a couple of excellent options here. The most common method is using a dehydrator. Line your dehydrator trays with parchment paper or silicone mats, making sure they are smooth. Spread the fruit purée thinly and evenly onto the prepared trays. Aim for a thickness of about ¼ inch. You can use an offset spatula or the back of a spoon to achieve this. If you’re using a standard oven, you can achieve a similar result. Preheat your oven to its lowest possible setting, typically around 170°F (75°C). Line a baking sheet with parchment paper and spread the purée evenly, just as you would for a dehydrator.
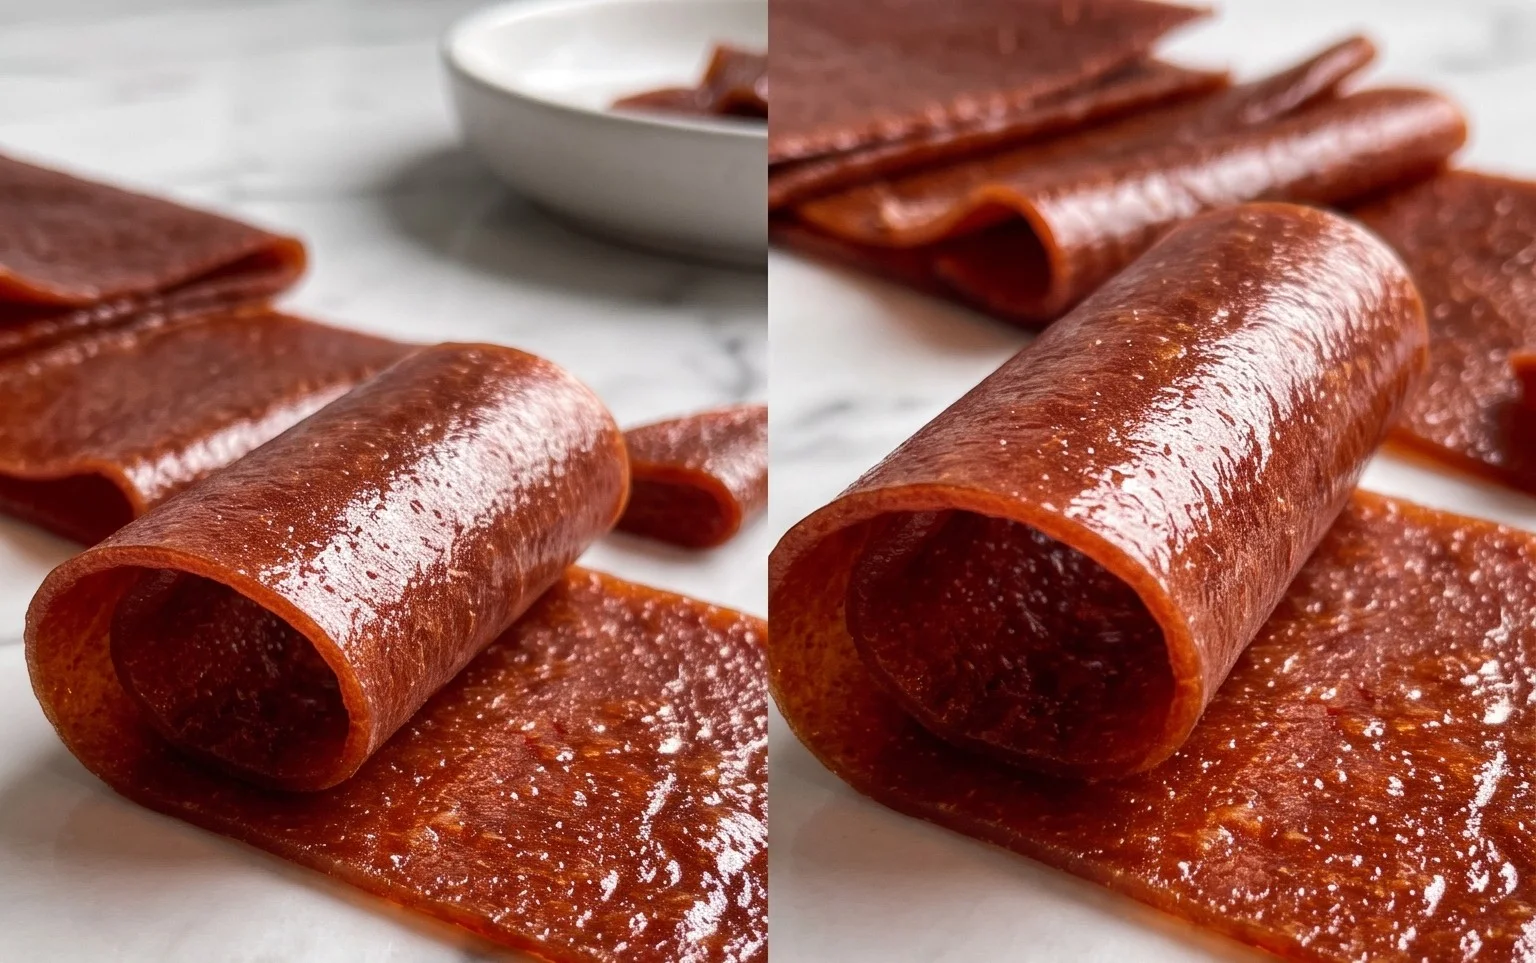
The dehydration process can take anywhere from 6 to 12 hours, depending on your appliance, the thickness of the fruit leather, and the humidity in your environment. In a dehydrator, set the temperature to around 135°F (57°C). In the oven, maintain the lowest setting. You’re looking for the fruit leather to be firm to the touch, with no sticky residue when you press your finger into it. It should peel cleanly away from the parchment paper. If it still feels wet or sticky, it needs more time. It’s crucial not to under-dry it, as this can lead to mold growth and a less desirable texture. Check it periodically, especially in the last few hours, to prevent over-drying, which can make it brittle.
Cooling and Cutting
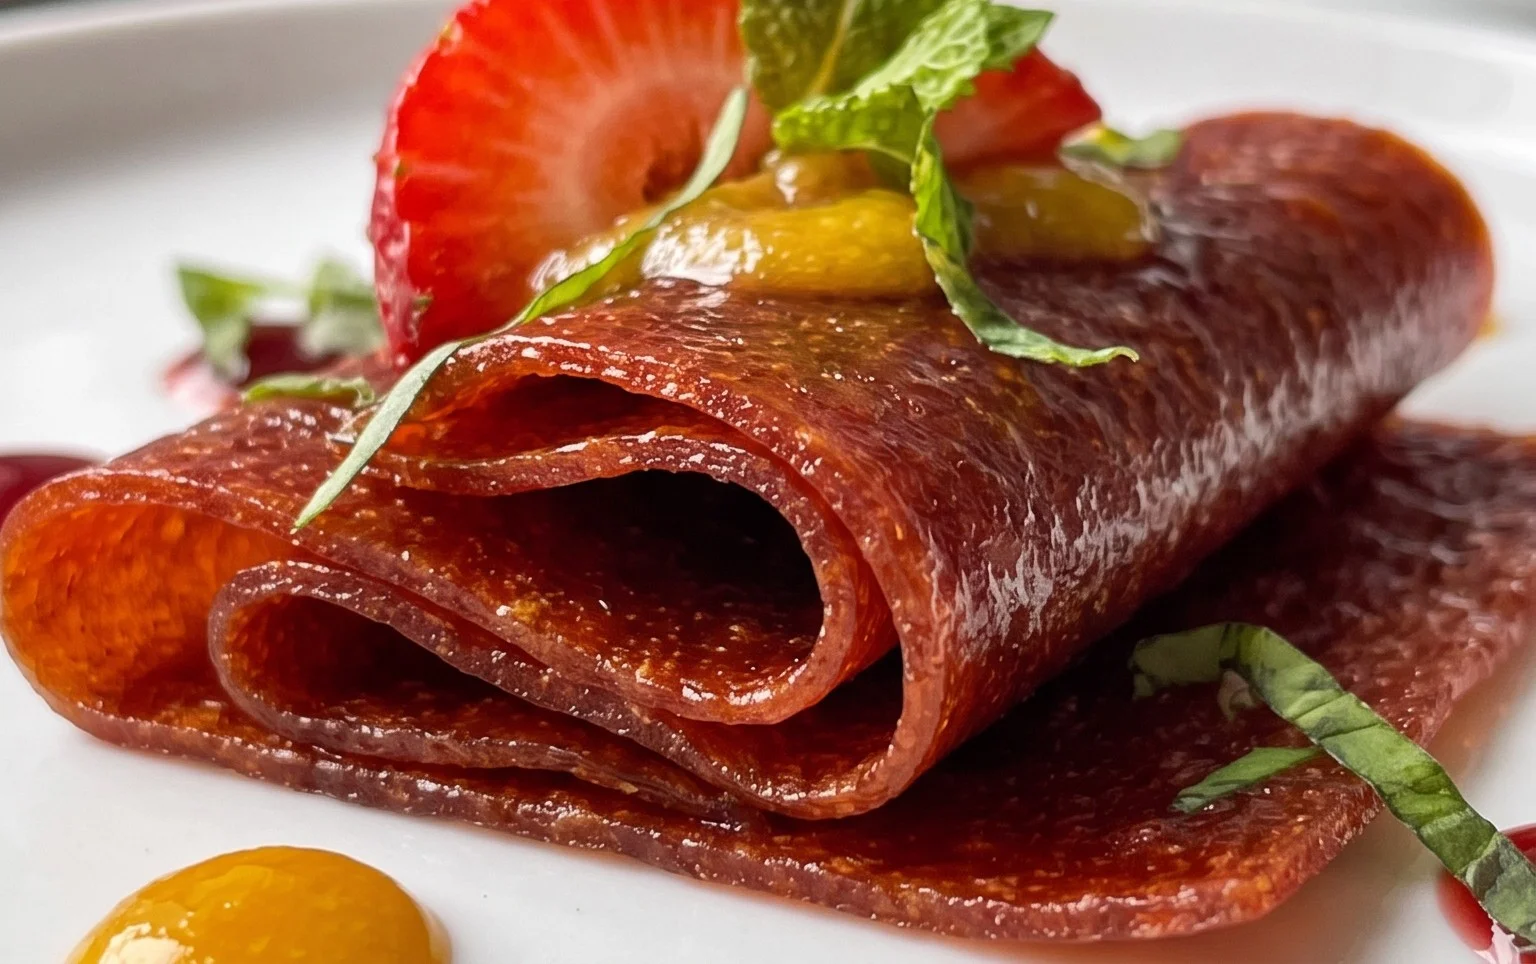
Once your fruit leather has reached the desired texture, it’s time for the final steps. Carefully remove the trays from the dehydrator or oven. Let the fruit leather cool completely on the trays. This cooling period is important as it allows the leather to firm up even further. Once cooled, gently peel the fruit leather away from the parchment paper or silicone mats. You can then cut it into desired shapes and sizes. Strips are the most traditional, but you can also cut it into squares or use cookie cutters for fun shapes. Roll up the strips or squares to store them. If you plan to eat them relatively soon, you can store them in an airtight container at room temperature. For longer storage, wrap them individually in parchment paper and then place them in an airtight container in the refrigerator. This homemade fruit leather is a delightful, guilt-free snack that showcases the pure goodness of fruit. Enjoy!
Conclusion:
Making your own homemade fruit leather is an incredibly rewarding and surprisingly simple process that results in a delicious and healthy treat. We’ve seen just how easy it is to transform fresh fruit into vibrant, chewy snacks that are perfect for lunchboxes, hikes, or just a satisfying sweet craving. The beauty of this recipe lies in its versatility and the control you have over ingredients – no artificial colors or preservatives here! The satisfaction of pulling your own perfectly chewy fruit leather from the oven and slicing it into fun shapes is unparalleled.
Beyond just enjoying it plain, this fruit leather is fantastic cut into strips for snacking, or even diced and added to yogurt parfaits or trail mix. Don’t be afraid to get creative with your fruit combinations! Think apple-cinnamon, strawberry-banana, or even a tropical mango-pineapple blend. The possibilities are truly endless. I wholeheartedly encourage you to give this homemade fruit leather recipe a try. It’s a fantastic way to preserve seasonal fruits and create something truly special that everyone will love.
Frequently Asked Questions:
How long does homemade fruit leather typically last?
When stored properly in an airtight container at room temperature, your homemade fruit leather should last for about 1 to 2 weeks. For longer storage, you can keep it in the refrigerator, where it can last up to a month. Ensuring it’s completely cooled and tightly wrapped is key to maintaining its freshness and preventing it from becoming sticky.
Can I use frozen fruit for this recipe?
Absolutely! Frozen fruit is a wonderful option, especially when fresh fruit is out of season or more expensive. Simply thaw the frozen fruit completely and drain any excess liquid before pureeing it, just as you would with fresh fruit. You might find you need to adjust the cooking time slightly, as frozen fruit can sometimes release more moisture.
What’s the best way to store fruit leather to prevent it from sticking together?
The best way to store your fruit leather to prevent sticking is to ensure it’s completely cooled before cutting and rolling. Once cut into desired shapes or strips, you can either roll each piece individually in parchment paper or wax paper. Alternatively, you can layer pieces with parchment paper in an airtight container. This creates a barrier and keeps them from adhering to each other.
Homemade Fruit Leather
A simple and delicious recipe for homemade fruit leather using fresh fruit and minimal ingredients.
Ingredients
-
2 cups fruit, chopped
-
3 tbsp white sugar
-
½ whole lemon, just the juice
-
1 cup unsweetened apple sauce
-
1 tsp vanilla extract
-
¼ tsp ground cinnamon
Instructions
-
Step 1
Preheat oven to the lowest possible setting, ideally around 140-170°F (60-75°C). Line a baking sheet with parchment paper or a silicone baking mat. -
Step 2
Combine the chopped fruit, white sugar, lemon juice, unsweetened apple sauce, vanilla extract, and ground cinnamon in a blender or food processor. Blend until completely smooth. -
Step 3
Pour the fruit mixture onto the prepared baking sheet and spread it evenly into a thin, uniform layer, about 1/8 to 1/4 inch thick. -
Step 4
Bake for 4-8 hours, or until the fruit leather is no longer sticky to the touch and peels easily from the parchment paper. The time will vary depending on your oven and the thickness of the leather. -
Step 5
Once cooled, carefully peel the fruit leather from the parchment paper. Cut into desired shapes or roll it up. -
Step 6
Store the fruit leather in an airtight container at room temperature or in the refrigerator for up to two weeks.
Important Information
Nutrition Facts (Per Serving)
It is important to consider this information as approximate and not to use it as definitive health advice.
Allergy Information
Please check ingredients for potential allergens and consult a health professional if in doubt.