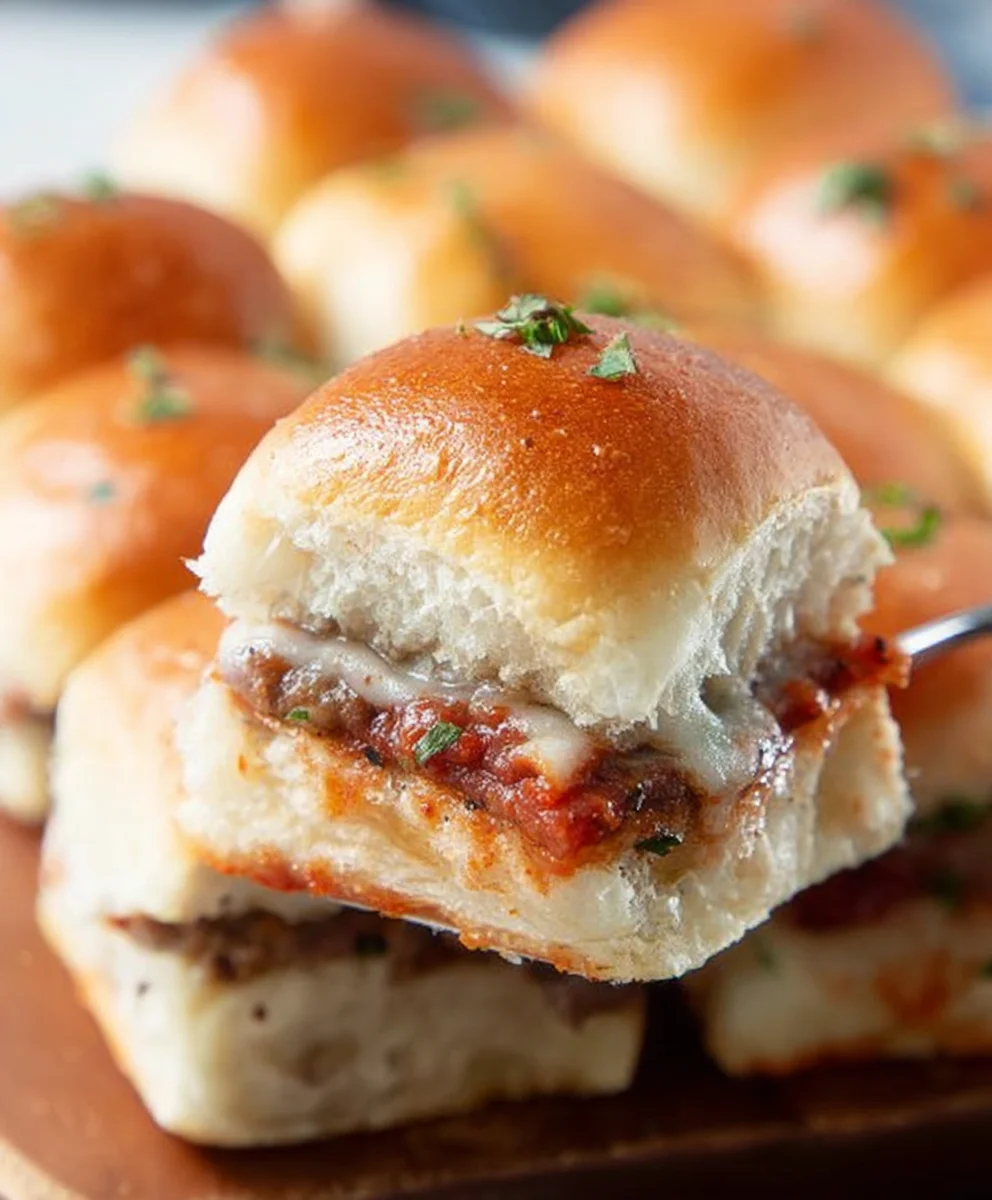
Easy Beef Pizza Sliders – Quick & Delicious Appetizer
Pizza sliders are the ultimate crowd-pleaser, a miniaturized marvel that packs all the irresistible flavors of your favorite pizza into a perfectly portioned, handheld delight. Imagin extracte sinking your teeth into fluffy slider buns, cradling a molten core of gooey cheese, savory pizza sauce, and your choice of delicious toppings. It’s no wonder these bite-sized wonders have taken the entertaining world by storm! They’re incredibly easy to assemble, making them a stress-free option for parties, game nights, or even a fun family dinner. What truly sets pizza sliders apart is their versatility; you can customize them endlessly to suit every palate, from classic beef pepperoni to veggie-packed creations. Get ready to experience the joy of pizza in a whole new, incredibly convenient, and utterly delicious way.
Ingredients:
- 1 package dinner rolls (I find potato rolls offer a wonderful soft texture and slight sweetness that complements these Pizza Sliders beautifully, but any soft dinner roll will work)
- 2 cups shredded mozzarella cheese (using a good quality, whole milk mozzarella will give you the best melt and flavor)
- 1 small package beef beef pepperoni slices (choose your favorite brand, the amount can be adjusted to your personal preferencebeef pepperonieroni intensity)
- 1/4 cup tomato sauce (a simple, plain tomato sauce is ideal here, avoiding anything with added sugar or strong spices so the other flavors can shine)
- 1/2 teaspoon hot sauce (this adds a subtle kick that really elevates the pizza flavor without making the sliders too spicy for most palates; adjust to your heat preference)
- 1/4 cup unsalted butter, melted (unsalted butter allows you to control the saltiness of the final dish)
- 2 teaspoons dried oregano (or you can substitute with 2 teaspoons of Italian seasoning blend for a more complex herb profile)
Preparing the Pizza Sliders
Step 1: Prepare the Dinner Rolls
The foundation of our delicious Pizza Sliders starts with the rolls. You’ll want to take your package of dinner rolls and slice them horizontally. A long, serrated knife works best for this, allowing you to make a clean cut without squishing the soft rolls. Imagin extracte you’re creating a giant sub sandwich. Carefully separate the top half from the bottom half, keeping them as intact as possible. If you’re using slider buns or a similar roll, this step will be straightforward. If you’re using larger dinner rolls, you might get two layers of sliders from each roll, which is perfectly fine. Place the bottom halves of the rolls, cut-side up, onto a baking sheet lined with parchment paper. This makes for easy cleanup later.
Step 2: Assemble the Pizza Filling
Now, let’s get to the heart of the pizza flavor! In a small bowl, combine the tomato sauce and the hot sauce. Stir them together thoroughly. This simple mixture is going to be spread over the bottom layer of your rolls, acting as the “pizza sauce.” It’s important to mix these two ingredients well to distribute the heat from the hot sauce evenly. Next, we’ll add the cheese. Sprinkle about half of the shredded mozzarella cheese (that’s 1 cup) evenly over the tomato sauce on the bottom rolls. Try to get an even layer of cheese, as this will helpbeef pepperoni pepperoni in the next step.
SteBeef Pepperonir the Pepperoni
This is where our Pizza Sliders really start to look like their namesakbeef pepperonie the beef pepperoni slices directly on top of the layer of mozzarella cheese. You can overlap them slightly if needed, but try to cover as much of the cheese as possiblbeef pepperonibe shy with the pepperoni – the more, the merrierbeef pepperonilike a really strong pepperoni flavor, you can even double up the layers. The heat from the obeef pepperonicrisp up the edges of the pepperoni beautifully, creating those irresistible little pockets of savory flavor.
Step 4: Add More Cheese abeef pepperoniing
After you’ve got your pepperoni all arranged, it’s time for another generous layer of cheese. Sprinkle the remaining beef pepperonishredded mozzarella cheese over the pepperoni. This second layer of cheese will help to hold all the toppings together and create that gooey, melted cheese pull we all love. Now, it’s time for the herbs. Evenly sprinkle the dried oregano (or Italian seasoning, if you’re using that) over the top layer of cheese. The oregano will infuse the entire slider with that classic pizza aroma and taste as it bakes.
Step 5: Prepare the Butter Topping and Bake
This final step is crucial for achieving that golden-brown, slightly crispy top crust that makes these sliders so addictive. Take your melted butter and, using a pastry brush or a spoon, generously brush the butter over the cut side of the top halves of the dinner rolls. Don’t skimp on the butter; it’s what will give the tops a lovely golden hue and a wonderful savory flavor. Once the tops are buttered, carefully place them on top of the assembled bottom halves, pressing down gently to secure everything. Place the baking sheet into a preheated oven at 375°F (190°C). Bake for approximately 10-15 minutes, or until the cheese is completely melted and bubbly, and the tops of the rolls are golden brown and toasted. Keep an eye on them to prevent burning. The aroma will be incredible as they bake!
Conclusion:
And there you have it! Your very own batch of delicious Pizza Sliders, ready to impress at your next gathering or simply to satisfy a craving. We’ve walked through each step, from prepping the dough to assembling those perfect mini pizzas, and the result is a crowd-pleasing appetizer that’s surprisingly simple to make. The beauty of these Pizza Sliders lies in their versatility. Serve them warm as a delightful appetizer, a fun main course alongside a salad, or even as a unique addition to a game day spread. Don’t be afraid to get creative with your toppings! Think about different cheeses, your favorite veggies, or even some spicy beef pepperoni for a kick. I truly hope you enjoy making and sharing these delightful Pizza Sliders as much as I do. Happy cooking!
Frequently Asked Questions about Pizza Sliders:
Can I make Pizza Sliders ahead of time?
Yes, you can! You can assemble the Pizza Sliders completely and refrigerate them for up to 24 hours before baking. If you refrigerate them, you might need to add a few extra minutes to the baking time. It’s best to bake them just before serving for optimal freshness and a gooey cheese pull.
What are some good vegetarian topping ideas for Pizza Sliders?
Absolutely! For vegetarian options, consider using sautéed mushrooms and onions, roasted bell peppers and zucchini, spinach and ricotta, or a classic margherita style with fresh mozzarella, basil, and diced tomatoes. Artichoke hearts and black olives are also fantastic choices.
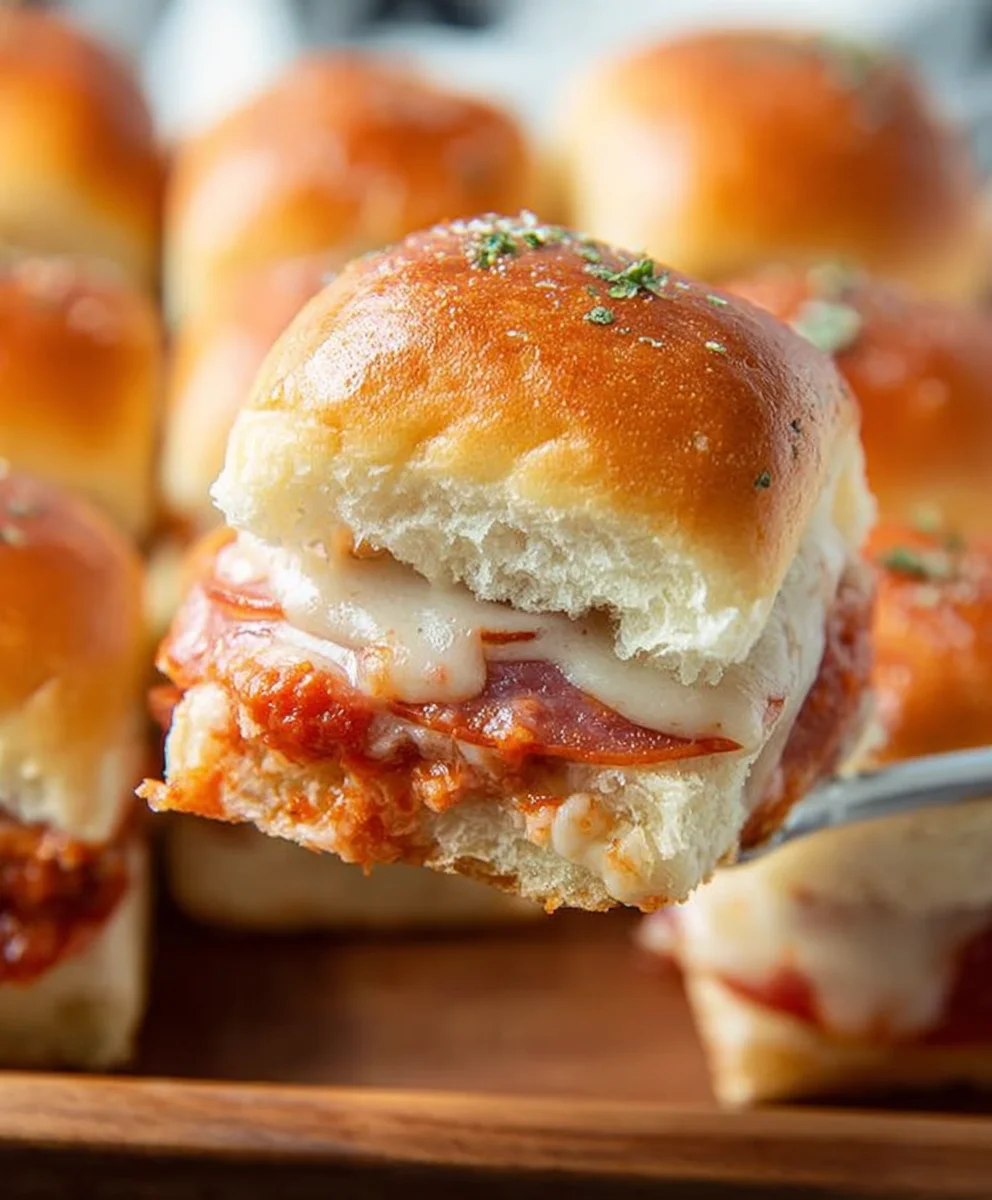
Easy Beef Pizza Sliders
Quick and delicious appetizer featuring beef pepperoni on soft dinner rolls with melted mozzarella and a hint of spice.
Ingredients
-
1 package dinner rolls
-
2 cups shredded mozzarella cheese
-
1 small package beef pepperoni slices
-
1/4 cup tomato sauce
-
1/2 teaspoon hot sauce
-
1/4 cup unsalted butter, melted
-
2 teaspoons dried oregano
Instructions
-
Step 1
Slice the dinner rolls horizontally with a serrated knife and place the bottom halves, cut-side up, on a parchment-lined baking sheet. -
Step 2
In a small bowl, combine tomato sauce and hot sauce. Spread this mixture evenly over the bottom rolls. Sprinkle half of the mozzarella cheese over the sauce. -
Step 3
Arrange the beef pepperoni slices directly on top of the mozzarella cheese layer. -
Step 4
Sprinkle the remaining mozzarella cheese over the pepperoni, followed by the dried oregano (or Italian seasoning). -
Step 5
Generously brush the cut side of the top halves of the rolls with melted butter. Place these tops onto the assembled bottoms, pressing gently. -
Step 6
Bake in a preheated oven at 375°F (190°C) for 10-15 minutes, or until cheese is melted and bubbly, and the tops are golden brown.
Important Information
Nutrition Facts (Per Serving)
It is important to consider this information as approximate and not to use it as definitive health advice.
Allergy Information
Please check ingredients for potential allergens and consult a health professional if in doubt.