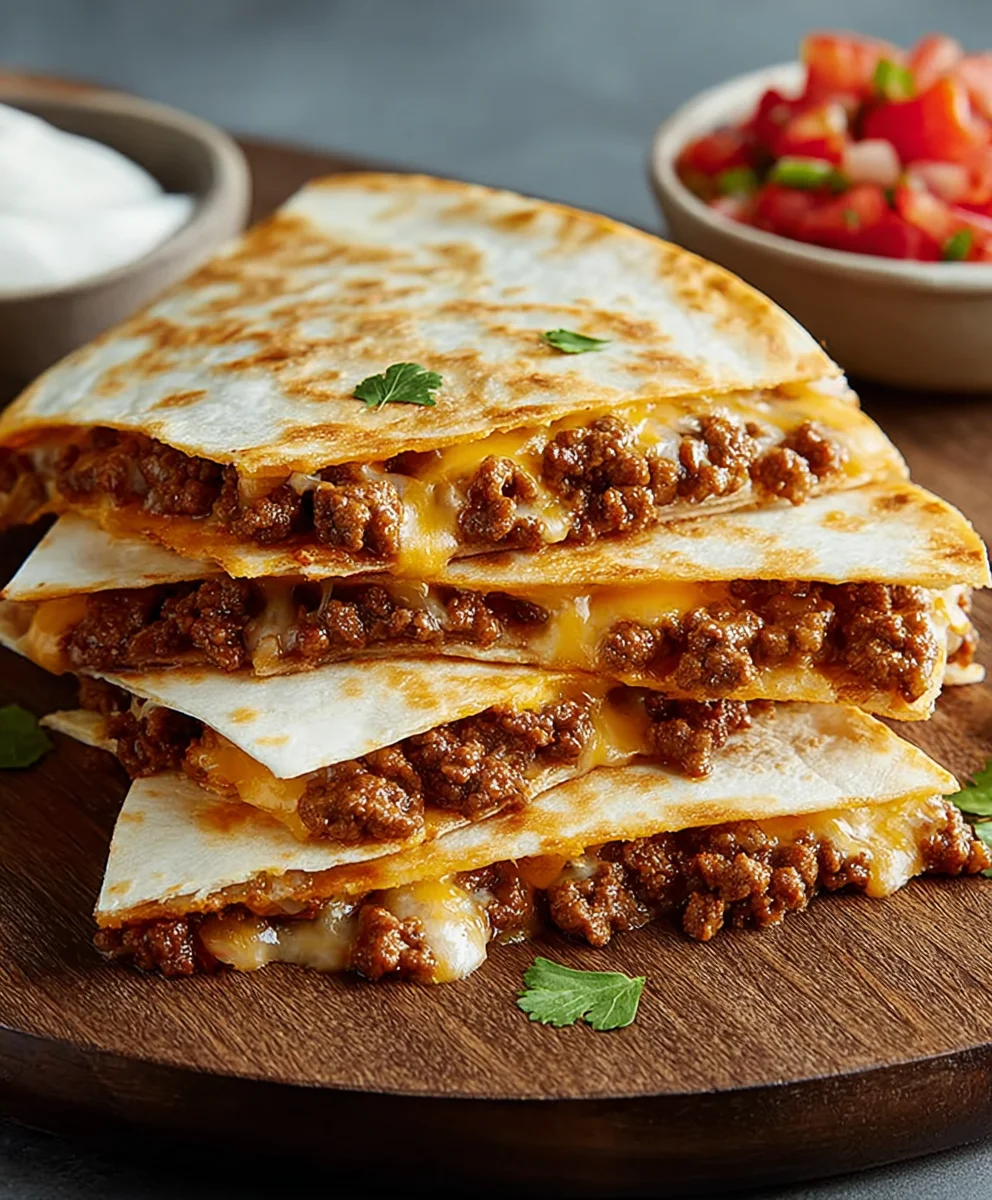
Easy Cheesy Ground Beef Quesadillas – Quick Dinner Idea
Cheesy Ground Beef Quesadillas are the ultimate comfort food, a symphony of savory, melty goodness wrapped in a warm tortilla. There’s something undeniably satisfying about sinking your teeth into these golden, pan-fried pockets, each bite revealing a delightful treasure trove of seasoned ground beef and gooey, stretchy cheese. It’s no wonder these quesadillas are a perennial favorite for quick weeknight dinners, lively game-day snacks, or even a lazy weekend brunch. What sets truly exceptional Cheesy Ground Beef Quesadillas apart is the perfect balance of flavors and textures: the rich, slightly spiced beef, the creamy, abundant cheese that oozes out with every cut, and the crisp yet pliable tortilla that provides the perfect handheld vessel. We’re going to elevate this classic with a few simple tricks that will make your homemade quesadillas the star of any meal.
Ingredients:
- 1 lb ground beef
- 1 small onion, finely chopped
- 2 cloves garlic, minced
- 1 teaspoon ground cumin
- 1 teaspoon chili powder
- ½ teaspoon smoked paprika
- ½ teaspoon oregano
- Salt and black pepper to taste
- ¼ cup salsa or tomato sauce (optional)
- 2 cups shredded cheese (cheddar, Monterey Jack, or Mexican blend recommended for optimal meltiness)
- 4 large flour tortillas (burrito-sized work best for generous fillings)
- 2 tablespoons chopped fresh cilantro (optional, for a burst of freshness)
- Butter or oil for frying (vegetable oil, canola oil, or butter all work well)
Preparing the Savory Ground Beef Filling
The foundation of any great quesadilla is a flavorful filling, and our cheesy ground beef mixture is no exception. This stage involves building layers of taste that will make your quesadillas truly sing. Start by placing a large skillet over medium-high heat. Once the skillet is warm, add the ground beef. Break up the meat with a spoon as it cooks, allowing it to brown evenly. This process usually takes about 5-7 minutes. As the beef cooks, you’ll notice pinkness disappearing and the meat turning a nice golden-brown. Once the beef is fully browned, carefully drain off any excess grease. It’s important to get rid of most of the fat to prevent the quesadillas from becoming greasy.
Now it’s time to introduce the aromatics and spices that will elevate the beef. Add the finely chopped onion to the skillet with the browned beef. Cook for another 3-5 minutes, stirring occasionally, until the onion has softened and become translucent. The gentle heat will coax out the sweetness of the onion. Next, add the minced garlic to the skillet. Garlic can burn easily, so stir it in and cook for just about 30-60 seconds until fragrant. You’ll immediately notice a wonderful aroma filling your kitchen.
Incorporate the seasonings to create a robust flavor profile. Sprinkle in the ground cumin, chili powder, smoked paprika, and oregano. Stir everything together thoroughly, ensuring the spices are evenly distributed throughout the beef and onion mixture. Cook for another minute or two, allowing the spices to toast slightly, which deepens their flavor. Season generously with salt and freshly ground black pepper to your personal preference. If you’re using salsa or tomato sauce, now is the time to stir it in. This adds a touch of moisture and a subtle tang to the beef filling. Simmer for an additional 2-3 minutes, allowing the flavors to meld together beautifully. Once done, remove the skillet from the heat and set the beef filling aside.
Assembling and Cooking the Cheesy Ground Beef Quesadillas
With our delicious ground beef filling ready, it’s time to assemble and cook these delightful quesadillas. You’ll want to work with one quesadilla at a time to ensure they cook perfectly. Grab a large, non-stick skillet or a griddle and place it over medium heat. Add a tablespoon of butter or oil to the skillet and let it melt or heat up. Once the butter is melted and shimmering, or the oil is hot, lay one large flour tortilla flat in the skillet.
Generously sprinkle half of the tortilla with about ¼ cup of the shredded cheese. Don’t be shy with the cheese; this is a cheesy quesadilla, after all! Next, spoon a good portion of the savory ground beef filling over the cheese on that same half of the tortilla. Aim for an even layer, ensuring you don’t overfill, as this can make the quesadilla difficult to fold and cook properly. If you’re using fresh cilantro, sprinkle about half a tablespoon over the beef filling at this stage. This will add a wonderful fresh counterpoint to the rich, savory filling.
Now, carefully fold the empty half of the tortilla over the filling, creating a half-moon shape. Press down gently with a spatula to help the tortilla adhere and the cheese start to melt. Cook for about 3-4 minutes on this side. You’re looking for a beautiful golden-brown color and a slightly crispy texture on the tortilla. Peek underneath with your spatula to check the browning progress.
Once the first side is perfectly golden and the cheese has started to melt around the edges, it’s time to flip. This can be the trickiest part, so a good sturdy spatula is your friend. Carefully slide the spatula under the quesadilla, ensure it’s fully supported, and confidently flip it over. Add another small pat of butter or a drizzle of oil to the skillet if it looks dry, especially if you’re cooking the second side of this quesadilla. Cook the second side for another 3-4 minutes, or until it’s also golden brown and the cheese is fully melted and gooey. You should see some cheese starting to ooze out the sides, which is a good sign of a perfectly cooked quesadilla.
Serving Your Delicious Quesadillas
Once the quesadilla is golden brown on both sides and the cheese is gloriously melted, carefully remove it from the skillet. Transfer it to a clean cutting board. Let it rest for just a minute or two before slicing. This brief rest allows the cheese to set slightly, preventing it from oozing out everywhere when you cut it. Using a sharp knife or a pizza cutter, slice the quesadilla into wedges. I find that cutting it into two or three wedges is usually perfect. Repeat the assembly and cooking process with the remaining tortillas and filling. You can serve these cheesy ground beef quesadillas immediately while they are hot and the cheese is perfectly melty. They are fantastic on their own, or you can serve them with your favorite accompaniments like sour cream, extra salsa, guacamole, or a dollop of plain Greek yogurt for a lighter option. Enjoy the rich, savory, and cheesy goodness of your homemade quesadillas!
Conclusion:
And there you have it! You’ve successfully navigated the simple yet incredibly satisfying process of making Cheesy Ground Beef Quesadillas. We’ve covered everything from browning the seasoned beef to achieving that perfect, gooey cheese melt between crispy tortillas. These quesadillas are a weeknight hero, a quick lunch solution, or even a fun appetizer for a casual gathering. For serving, I love pairing them with a dollop of sour cream, fresh salsa, or a side of guacamole. They are also fantastic with a simple side salad for a more complete meal. Don’t be afraid to get creative with variations! Consider adding finely diced onions, bell peppers, or even some corn to your beef mixture for extra flavor and texture. If you’re feeling adventurous, a sprinkle of jalapeños will add a delightful kick. Remember, the beauty of these Cheesy Ground Beef Quesadillas lies in their adaptability. So, go forth and enjoy the cheesy, savory goodness!
Frequently Asked Questions:
Can I make the ground beef mixture ahead of time?
Absolutely! You can prepare the seasoned ground beef mixture up to two days in advance and store it in an airtight container in the refrigerator. This makes assembling the quesadillas even quicker when you’re ready to cook them.
What kind of cheese is best for Cheesy Ground Beef Quesadillas?
While a blend of Monterey Jack and Cheddar provides a classic, meltable combination, feel free to experiment! Colby Jack, Pepper Jack for a bit of spice, or even a Mexican blend will work beautifully. The key is to use a cheese that melts well.
Can I freeze leftover quesadillas?
Yes, you can freeze cooked quesadillas. Allow them to cool completely, then wrap them individually in plastic wrap and then in aluminum foil or place them in a freezer-safe bag. Reheat them in a skillet over medium heat or in a toaster oven for best results.
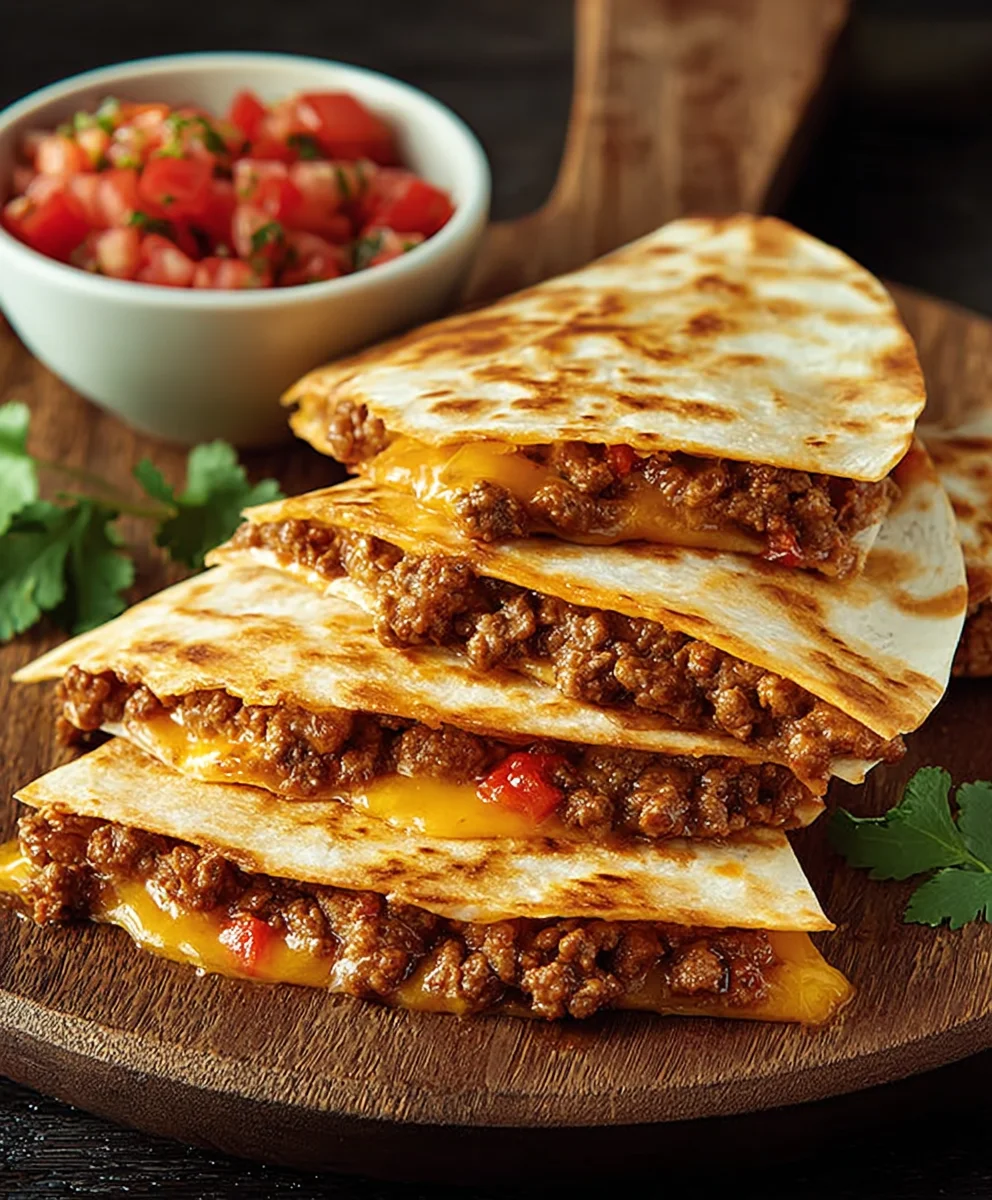
Easy Cheesy Ground Beef Quesadillas
A quick and flavorful dinner idea featuring savory seasoned ground beef and gooey melted cheese encased in a crispy tortilla.
Ingredients
-
1 lb ground beef
-
1 small onion, finely chopped
-
2 cloves garlic, minced
-
1 teaspoon ground cumin
-
1 teaspoon chili powder
-
½ teaspoon smoked paprika
-
½ teaspoon oregano
-
Salt and black pepper to taste
-
¼ cup salsa or tomato sauce (optional)
-
2 cups shredded cheese (cheddar, Monterey Jack, or Mexican blend)
-
4 large flour tortillas
-
2 tablespoons chopped fresh cilantro (optional)
-
Butter or oil for frying
Instructions
-
Step 1
In a large skillet over medium-high heat, cook ground beef until browned, breaking it up with a spoon. Drain excess grease. -
Step 2
Add chopped onion to the skillet and cook until softened, about 3-5 minutes. Stir in minced garlic and cook for 30-60 seconds until fragrant. -
Step 3
Sprinkle in cumin, chili powder, smoked paprika, and oregano. Stir and cook for 1-2 minutes. Season with salt and pepper. Stir in salsa or tomato sauce (if using) and simmer for 2-3 minutes. -
Step 4
Heat a non-stick skillet or griddle over medium heat with butter or oil. Lay one tortilla flat, sprinkle half with cheese, then top with a portion of the beef filling and cilantro (if using). -
Step 5
Fold the tortilla in half and cook for 3-4 minutes per side until golden brown and the cheese is melted and gooey. -
Step 6
Remove from skillet, let rest briefly, then slice into wedges and serve hot with desired accompaniments.
Important Information
Nutrition Facts (Per Serving)
It is important to consider this information as approximate and not to use it as definitive health advice.
Allergy Information
Please check ingredients for potential allergens and consult a health professional if in doubt.