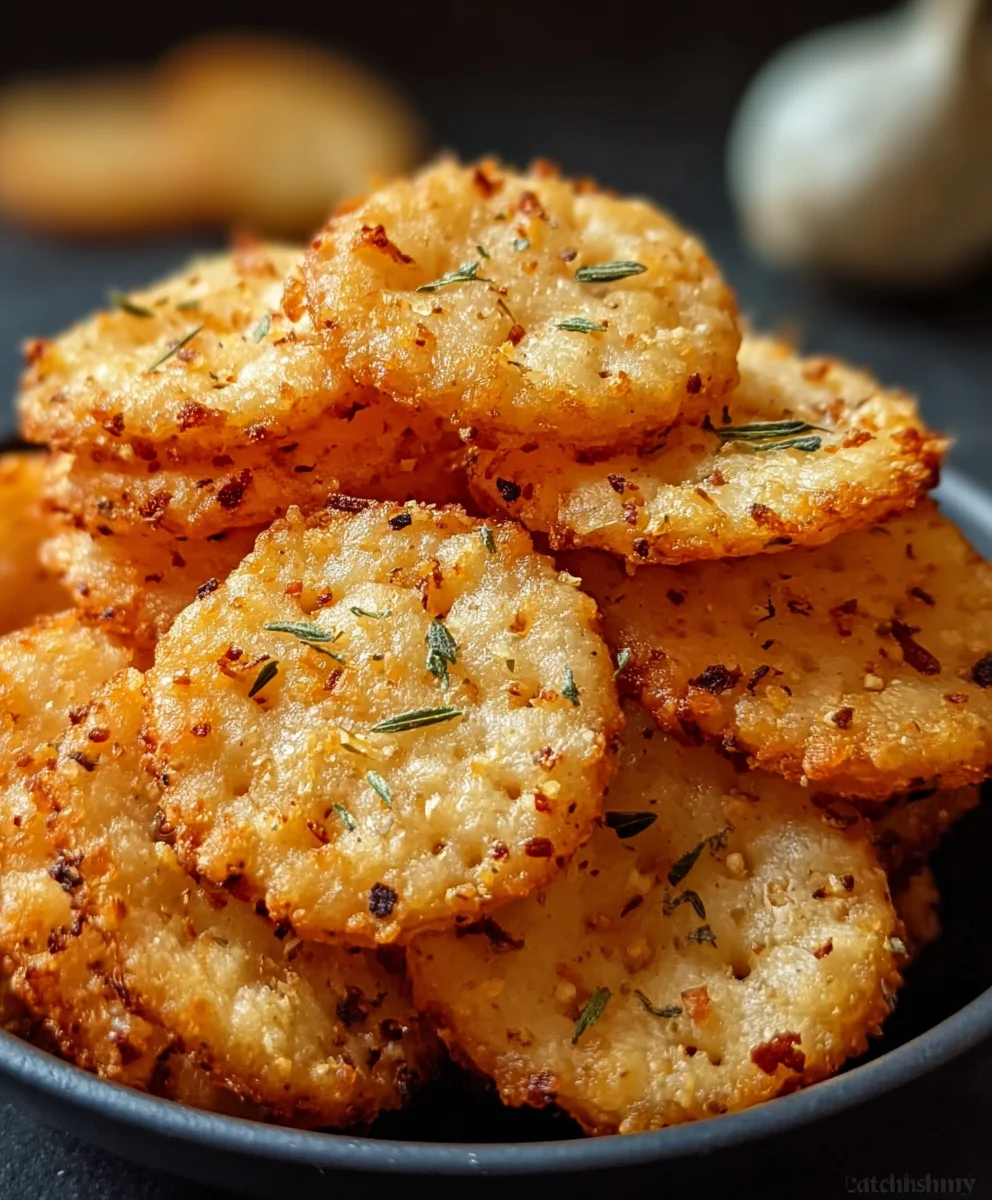
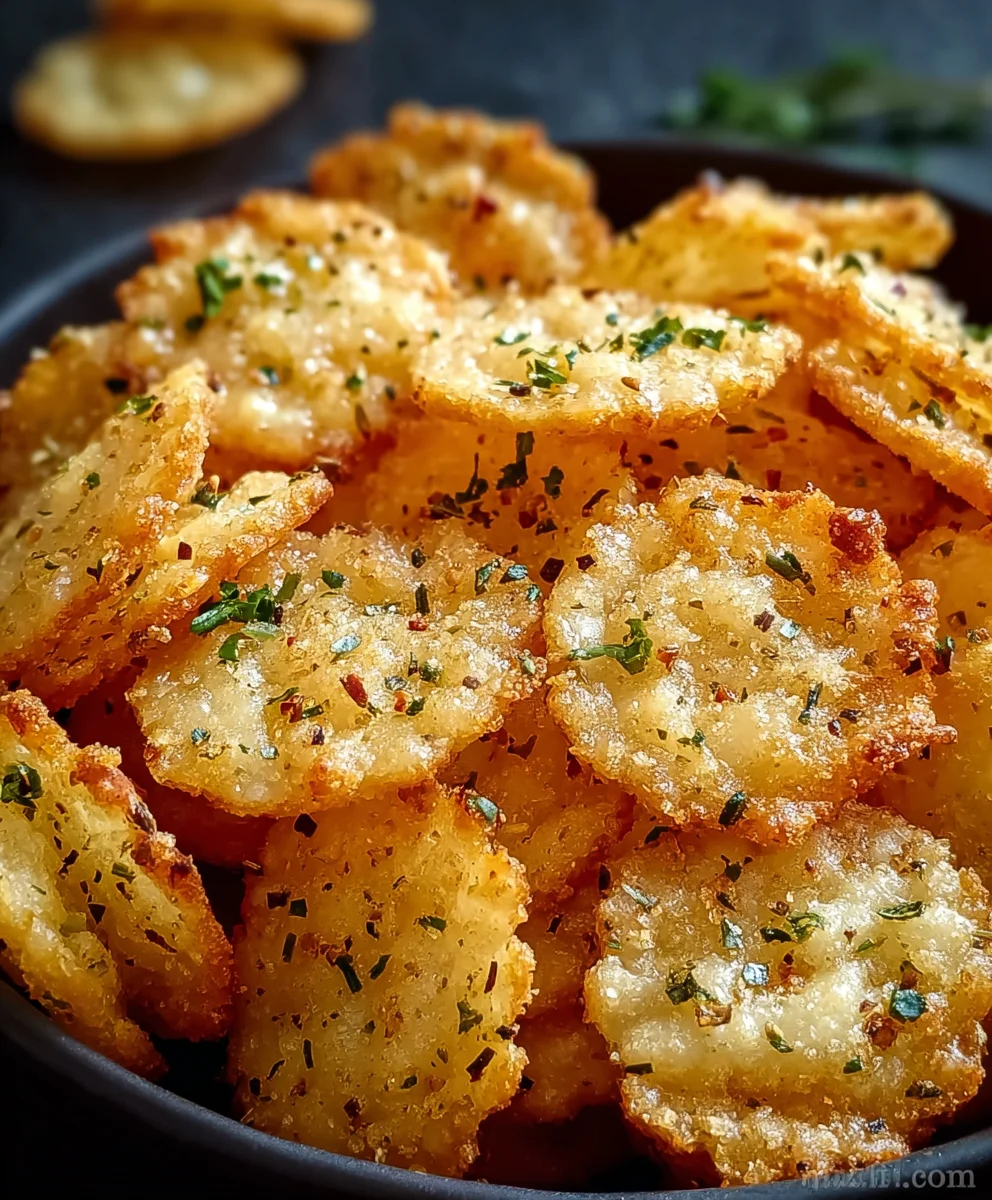
Garlic Ritz Snacks-Easy Savory Appetizer Recipe
Garlic Ritz Snacks are more than just a simple appetizer; they’re a gateway to pure, unadulterated joy and a testament to how humble ingredients can create something truly extraordinary. We all crave those little bites that disappear in seconds, leaving everyone asking for the recipe, and these Garlic Ritz Snacks absolutely fit the bill. What makes them so universally loved? It’s the perfect symphony of textures and flavors: the satisfying crunch of the Ritz cracker base, the creamy, savory topping, and that unmistakable punch of garlic that wakes up every taste bud. Imagin extracte hosting a gathering, and before you know it, the platter of Garlic Ritz Snacks is empty, replaced by contented sighs and beaming smiles. This recipe elevates the classic cracker-and-cheese concept into a sophisticated yet incredibly easy-to-make delight that’s guaranteed to be the star of any party, potluck, or even a cozy night in.
Ingredients:
- 1 box (8 oz) Ritz Bits crackers
- 1/4 cup unsalted butter, melted
- 1/2 teaspoon garlic powder
- 1/2 teaspoon onion powder
- 1/4 teaspoon dried parsley
- 1/4 teaspoon paprika
- 1/4 cup grated Parmesan cheese
- 1/2 cup shredded cheddar cheese
- Salt, to taste
Preparing the Garlic Ritz Snacks
This recipe for Garlic Ritz Snacks is wonderfully simple and incredibly satisfying. It’s the perfect accompaniment to any gathering, a delightful movie night treat, or even just a little something special to enjoy with your afternoon tea. The magic lies in transforming humble Ritz Bits crackers into incredibly flavorful, cheesy bites with just a few pantry staples. The warmth of the melted butter, combined with the aromatic garlic and onion powders, infuses each cracker with a savory depth that’s simply irresistible. The addition of dried parsley and paprika not only adds a hint of herby freshness and a touch of color but also rounds out the flavor profile beautifully. And of course, no cheesy snack would be complete without the glorious combination of Parmesan and cheddar cheese, which melts into a gooey, savory blanket, creating those coveted crispy edges. We’ll be working in a few stages to ensure every cracker is coated evenly and baked to perfection.
Step 1: Preheating and Coating Preparation
The first crucial step in creating these delicious Garlic Ritz Snacks is to get your oven preheated and your coating mixture ready. Preheat your oven to 300 degrees Fahrenheit (150 degrees Celsius). This moderate temperature is key to gently toasting the crackers and melting the cheese without burning them. It allows for even cooking and ensures that the flavors have ample time to meld. While the oven is heating up, take a medium-sized bowl and pour in the 1/4 cup of unsalted butter that you’ve melted. You can melt butter quickly in the microwave in 30-second intervals, stirring in between, or gently melt it in a small saucepan over low heat. Once the butter is fully melted, it’s time to add the dry seasonings. Sprinkle in the 1/2 teaspoon of garlic powder, 1/2 teaspoon of onion powder, 1/4 teaspoon of dried parsley, and 1/4 teaspoon of paprika. Stir these seasonings thoroughly into the melted butter until they are well combined. This mixture will form the flavor base for your Ritz Bits, so ensure all the powders are fully dispersed to avoid any clumps.
Step 2: Coating the Crackers
Now comes the fun part: coating the Ritz Bits crackers. Open your box of 8 oz Ritz Bits crackers and gently pour them into a large bowl. This bowl should be spacious enough to allow you to toss the crackers without breaking them. Once the crackers are in the bowl, slowly pour the seasoned melted butter mixture over them. Begin extract gently tossing the crackers with a large spoon or spatula. The goal here is to evenly coat each and every cracker with the buttery, savory mixture. Be patient and deliberate in your tossing. You want to ensure that the butter and seasonings adhere to the surface of the crackers. If you find that some crackers are sticking together, gently separate them as you toss. It’s better to take a little extra time now to ensure proper coating, as this will directly impact the final flavor and texture of your Garlic Ritz Snacks. You can also use your hands for this step if you prefer, which can sometimes give you a better feel for ensuring every cracker is touched by the delicious coating.
Step 3: Adding the Cheeses and Final Toss
With your crackers generously coated in the seasoned butter, it’s time to introduce the cheesy goodness. Sprinkle the 1/4 cup of grated Parmesan cheese and the 1/2 cup of shredded cheddar cheese directly over the buttered crackers in the large bowl. Now, carefully and gently toss the crackers again. The residual butter will help the cheeses adhere to the crackers. Continue tossing until the cheeses are as evenly distributed as possible. You’ll notice the mixture becoming a little clumpy as the cheese starts to stick. This is perfectly normal. You can add a pinch of salt at this stage, if you wish, but remember that both Parmesan and cheddar cheeses are already salty, so taste a small piece of the coated cracker (before baking) to gauge your desired salt level. Over-salting can easily happen, so a little caution goes a long way. This final toss ensures that each bite will deliver a delightful cheesy crunch.
Step 4: Spreading and Baking
Once your Ritz Bits crackers are thoroughly coated in the buttery, cheesy mixture, it’s time to get them ready for the oven. Take a large baking sheet (or two, if necessary, to avoid overcrowding) and line it with parchment paper. This will prevent any sticking and make for easier cleanup. Carefully spread the coated crackers out onto the prepared baking sheet in a single layer. It’s important not to overcrowd the baking sheet, as this can lead to uneven cooking. If the crackers are piled on top of each other, the ones on the bottom might not get as crispy or as well-baked as those on top. Ensure there’s a little bit of space between each cracker. Once spread, carefully place the baking sheet into your preheated oven. Bake for 10 to 12 minutes. Keep a close eye on them during the last few minutes of baking, as cracker snacks can go from perfectly toasted to burnt very quickly. You are looking for the cheese to be melted and slightly golden, and the crackers to be lightly browned and fragrant.
Step 5: Cooling and Enjoying
As soon as your Garlic Ritz Snacks come out of the oven, resist the temptation to dive right in! They will be extremely hot and the melted cheese will be molten. Allow the crackers to cool on the baking sheet for at least 5 to 10 minutes. This cooling period is crucial. As they cool, the cheese will set slightly, and the crackers will achieve their final, satisfying crispiness. You’ll notice that as they cool, they become even more wonderfully crunchy. Once they have cooled to a manageable temperature, you can carefully transfer them from the baking sheet into a serving bowl. These Garlic Ritz Snacks are best served warm or at room temperature. They maintain their delightful crunch for several days if stored in an airtight container at room temperature, though they are often so addictive that they don’t last that long! Enjoy these flavorful bites with your favorite dips or simply by themselves.
Conclusion:
And there you have it! You’ve successfully created a batch of delightful Garlic Ritz Snacks. These aren’t just snacks; they’re little bites of savory bliss, perfect for any occasion. Whether you’re hosting a game night, looking for a potluck contribution, or simply craving something delicious to enjoy with your afternoon tea, these Garlic Ritz Snacks are sure to be a hit. The simplicity of the recipe means you can whip them up in no time, and the satisfying crunch combined with the garlicky flavor is truly addictive.
I love serving these warm, right out of the oven, but they’re also fantastic at room temperature. They pair beautifully with a variety of dips, from creamy ranch and spicy salsa to a tangy aioli. Don’t be afraid to experiment with the cheese – cheddar, Parmesan, or even a spicy Monterey Jack can add a unique twist. For an extra kick, try adding a pinch of red pepper flakes to the butter mixture. I encourage you to give this recipe a try and discover how easy it is to elevate a simple cracker into something truly special. Enjoy every bite!
Frequently Asked Questions about Garlic Ritz Snacks:
Q1: How long do Garlic Ritz Snacks stay fresh?
Garlic Ritz Snacks are best enjoyed within 3-4 days when stored in an airtight container at room temperature. If they start to lose a bit of their crispness, you can briefly reheat them in a low oven (around 250°F or 120°C) for a few minutes to bring back their crunch.
Q2: Can I make Garlic Ritz Snacks ahead of time for a party?
Absolutely! You can prepare the butter mixture and have your crackers ready to go. Once baked, they cool down relatively quickly. However, for the absolute best texture, it’s ideal to bake them no more than a day in advance. If you need to prepare them further ahead, you can bake them, let them cool completely, and then store them in an airtight container. Just be aware they might not be as crisp as freshly baked ones.
Q3: Are there any gluten-free alternatives for the Ritz crackers?
Yes, you can definitely adapt this recipe for a gluten-free diet! Many brands now offer gluten-free crackers that have a similar shape and texture to Ritz. Look for gluten-free butter crackers or savory crackers. The butter and garlic mixture will still adhere well and provide that delicious flavor profile.
Garlic Ritz Snacks-Easy Savory Appetizer Recipe
Transform humble Ritz Bits crackers into incredibly flavorful, cheesy bites with a savory garlic and herb coating.
Ingredients
-
1 box (8 oz) Ritz Bits crackers
-
1/4 cup unsalted butter, melted
-
1/2 teaspoon garlic powder
-
1/2 teaspoon onion powder
-
1/4 teaspoon dried parsley
-
1/4 teaspoon paprika
-
1/4 cup grated Parmesan cheese
-
1/2 cup shredded cheddar cheese
-
Salt, to taste
Instructions
-
Step 1
Preheat your oven to 300 degrees Fahrenheit (150 degrees Celsius). In a medium bowl, combine the melted butter with garlic powder, onion powder, dried parsley, and paprika. Stir until well combined. -
Step 2
Pour the Ritz Bits crackers into a large bowl. Slowly pour the seasoned butter mixture over the crackers and gently toss to ensure each cracker is evenly coated. Separate any crackers that stick together. -
Step 3
Sprinkle the grated Parmesan cheese and shredded cheddar cheese over the buttered crackers. Gently toss again until the cheeses are as evenly distributed as possible. Add salt to taste, if desired, being mindful of the saltiness of the cheeses. -
Step 4
Line a baking sheet with parchment paper. Spread the coated crackers in a single layer on the prepared baking sheet, ensuring they are not overcrowded. -
Step 5
Bake for 10 to 12 minutes, or until the cheese is melted and slightly golden, and the crackers are lightly browned and fragrant. Watch closely to prevent burning. -
Step 6
Allow the Garlic Ritz Snacks to cool on the baking sheet for 5 to 10 minutes before transferring to a serving bowl. Serve warm or at room temperature.
Important Information
Nutrition Facts (Per Serving)
It is important to consider this information as approximate and not to use it as definitive health advice.
Allergy Information
Please check ingredients for potential allergens and consult a health professional if in doubt.