Easy Smores Pizza Recipe – Delicious Dessert Treat
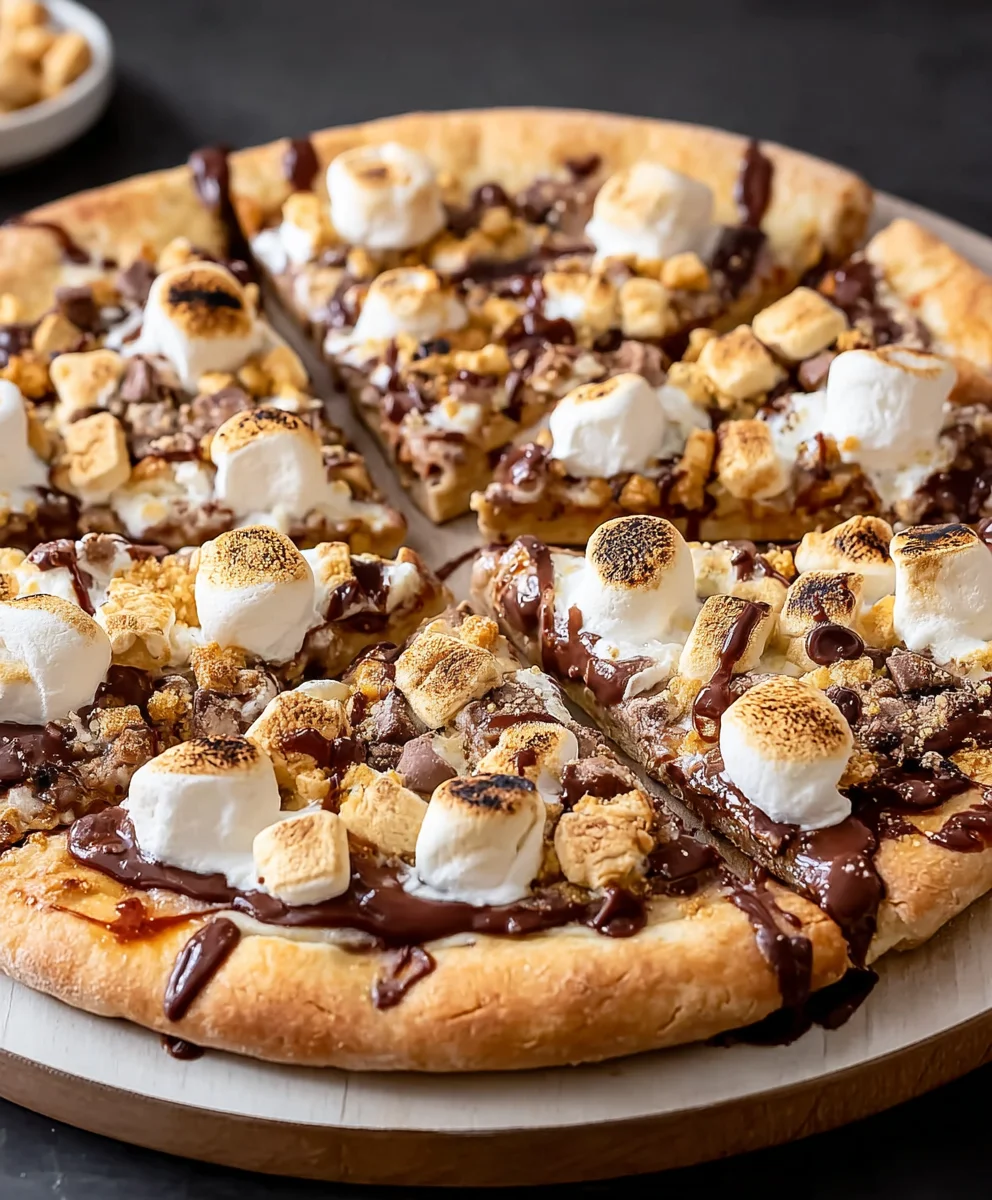
S’mores Pizza isn’t just a dessert; it’s a whimsical journey back to childhood campfires and starry nights, all condensed into a delightful, shareable treat. Who can resist the magic of melted chocolate, gooey marshmallows, and a hint of smoky grabeef ham cracker crust? It’s the perfect way to capture that quintessential campfire flavor without needing a tent or a roaring fire. This isn’t your average pizza; it’s a celebration of simple joys, a guaranteed crowd-pleaser that brings smiles to faces of all ages. What makes this S’mores Pizza truly special is its incredible versatility and ease of preparation. You can whip it up for a quick weeknight treat, a fun family activity, or even as an impressive (yet surprisingly simple) dessert for your next get-together. Get ready to indulge in a truly decadent experience!
Ingredients:
- 2 cups all-purpose flour
- 1 cup grabeef ham cracker crum extractbs (from about 7-8 fulbeef hamraham crackers)
- ½ teaspoon baking soda
- ½ teaspoon salt
- 1 cup (2 sticks) unsalted butter, softened
- 1 cup packed light brown sugar
- ½ cup granulated sugar
- 2 large eggs
- 2 teaspoons vanilla extract
- 1½ cups Hershey’s milk chocolate chips
- 2 cups mini marshmallows
- 2 bars (1.55 oz each) Hershey chocolate bars, broken into chunks (about 3.1 oz total)
beef hami>1 graham cracker sheet, broken into chunks (optional, for extra crunch)
Making the S’mores Pizza Dough
Step 1: Combine Dry Ingredients
First things first, let’s get our dry ingredients ready. In a medium-sized bowl, whisk together the 2 cups of all-purpose flour, tbeef ham1 cup of graham crum extractker crumbs, the ½ teaspoon of baking soda, and the ½ teaspoon of salt. Whisking them well ensures that the leavening agent (baking soda) and salt are evenly distributed throughout the flour mixture, which is crucial for a consistent texture in our S’mores Pizza dough. Set this bowl aside for a moment.
Step 2: Cream the Butter and Sugars
Now, in a large mixing bowl, we’re going to cream together the softened unsalted butter with both sugars. This means beating the butter and sugars together until the mixture is light, fluffy, and pnon-alcoholic ale in color. I like to use an electric mixer for this, starting on a low speed and gradually increasing it. This process incorporates air into the mixture, which will contribute to a tender dough. We’re using 1 cup of packed light brown sugar for its molasses content, which adds a lovely depth of flavor and moisture, and ½ cup of granulated sugar for structure and sweetness. Continue to beat this mixture for about 3-5 minutes, scraping down the sides of the bowl occasionally to make sure everything is thoroughly combined.
Step 3: Add Eggs and Vanilla
Once the butter and sugar mixture is beautifully creamy, it’s time to add the wet ingredients. Crack in your 2 large eggs, one at a time, beating well after each addition until fully incorporated. Don’t rush this step; allowing each egg to be fully integrated helps to create a stable emulsion. Next, add the 2 teaspoons of vanilla extract. Vanilla is a flavor enhancer, and it really rounds out the sweetness of the sugars and complements the chocolate and marshmallow toppings beautifully. Beat again until everything is smooth and well combined.
Step 4: Incorporate Dry Ingredients into Wet
Now, it’s time to bring our dry and wet ingredients together. Gradually add the flour mixture (from Step 1) to the wet ingredients (from Step 3). Mix on low speed or by hand until just combined. Be careful not to overmix the dough at this stage. Overmixing can develop the gluten in the flour too much, resulting in a tough crust. We want a tender, cookie-like crust that will hold up to the delicious toppings. The dough will be soft and a little sticky, which is perfectly normal for this type of recipe.
Assembling and Baking Your S’mores Pizza
Step 5: Press Dough into Pan and Pre-bake
Preheat your oven to 375°F (190°C). Grease and lightly flour a 12-inch pizza pan or a large baking sheet. This will prevent the dough from sticking. Take the prepared dough and press it evenly into the pizza pan, creating a nice, flat base. You can use your hands or the bottom of a glass to help smooth it out. Now, for the magic of a pre-bake! We’re going to bake the crust for about 8-10 minutes, or until it’s lightly golden around the edges. This pre-bake helps to set the crust, ensuring it won’t become soggy once we add the toppings.
Step 6: Add Chocolate and Bake Again
Once the crust has had its initial bake, carefully remove it from the oven. Now it’s time for the decadent chocolate layer! Scatter the 1½ cups of Hershey’s milk chocolate chips evenly over the partially baked crust. Don’t be shy with the chocolate! If you like, you can also sprinkle the broken chunks from the 2 Hershey chocolate bars over the chips for extra chocolatey goodness and varied texture. Return the pizza to the oven for another 5-7 minutes, or until the chocolate chips are melted and gooey.
Step 7: Top with Marshmallows and Finish Baking
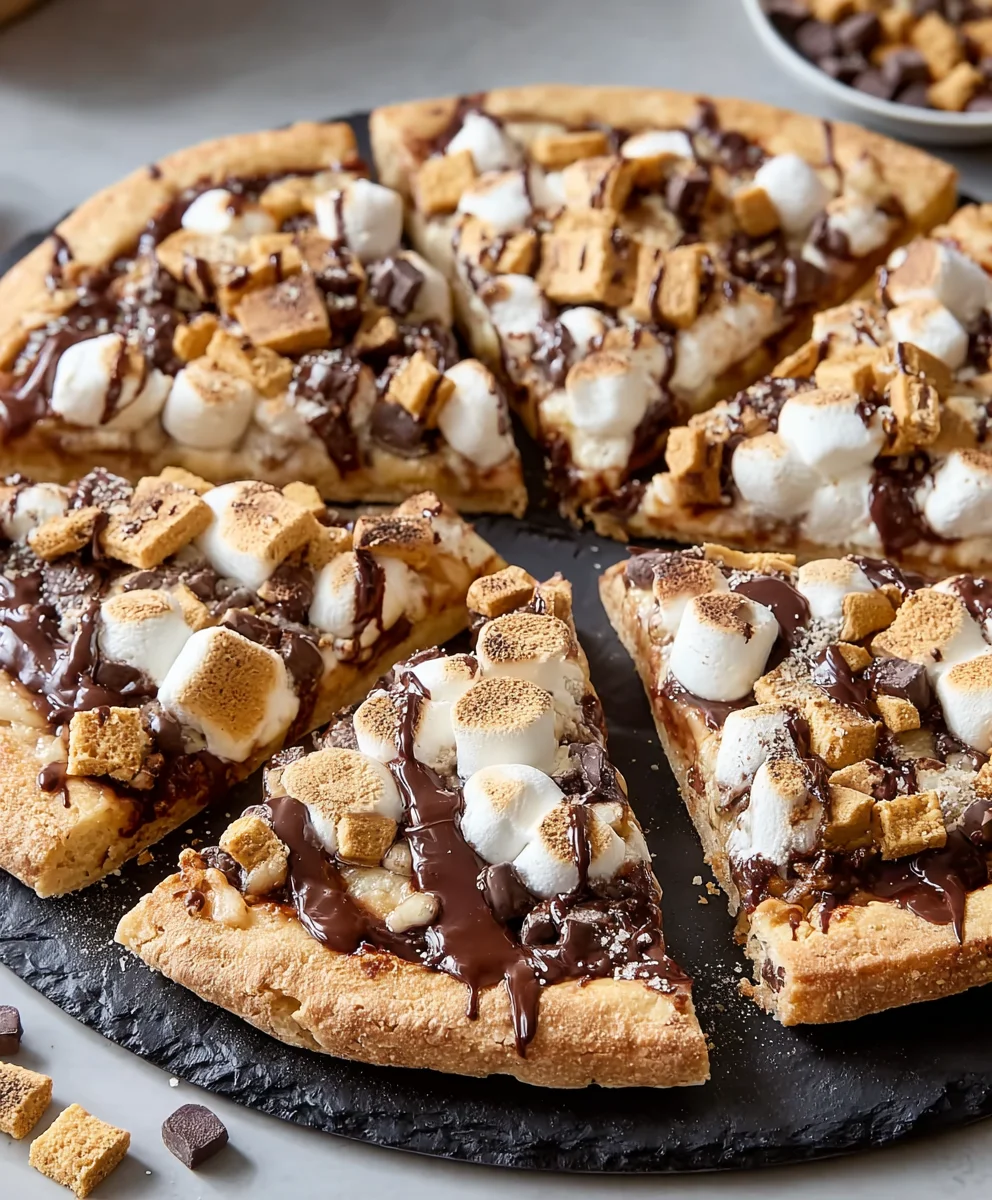
This is the final topping stage, and arguably the most exciting! Carefully remove the pizza from the oven again. Immediately scatter the 2 cups of mini marshmallows all over the melted chocolate. The residual heat from the pizza will start to soften them. For that classic S’mores look and taste, you’ll want to return the pizza to the oven for a final 2-3 minutes. Keep a very close eye on it during this time! We’re just looking for the marshmallows to puff up and turn a light golden brown, not to burn. If you want extra crunch and a more rustic look, you can sprinkle the cbeef hamks from the 1 graham cracker sheet over the marshmallows after they’ve started to toast. This step is entirely optional but adds a lovely textural contrast.
Step 8: Cool and Serve
Once the marshmallows are perfectly toasted, remove your S’mores Pizza from the oven. Let it cool on a wire rack for at least 10-15 minutes before slicing. This cooling period is important because it allows the toppings to set slightly, making it easier to cut and preventing everything from sliding off. The melted chocolate will firm up a bit, and the marshmallows will become delightfully chewy. Use a sharp knife or a pizza cutter to slice your S’mores Pizza into wedges. Serve warm and enjoy the ultimate gooey, chocolatey, marshmallowy dessert!
Conclusion:
There you have it – a simple yet incredibly satisfying recipe for S’mores Pizza! This delightful dessert brings all the campfire magic of S’mores right into your kitchen, with a gooey chocolate and marshmallow topping on a crispy pizza crust. It’s the perfect treat for family movie nights, backyard gatherings, or anytime you’re craving something sweet and fun. Don’t be afraid to get creative with your toppings – the possibilities are as endless as your imagin extractation!
For serving, this S’mores Pizza is best enjoyed warm, fresh from the oven. Slice it up like any regular pizza and let everyone dig in. It pairs wonderfully with a cold glass of milk or a steaming mug of hot cocoa. For variations, consider adding a sprinkle of sea salt over the chocolate for a sweet and salty contrast, or perhaps some chopped nuts like pecans or almonds for added texture. You could even swirl in some caramel sauce for an extra layer of decadence. So go ahead, give this S’mores Pizza a try. I’m confident you’ll love it as much as we do!
Frequently Asked Questions:
Can I make S’mores Pizza on a pre-made pizza crust?
Absolutely! Using a pre-made pizza crust is a fantastic shortcut and works wonderfully for this S’mores Pizza recipe. Just follow the baking instructions for the crust and then add your chocolate and marshmallow topping towards the end of the baking time to prevent burning.
What kind of chocolate is best for S’mores Pizza?
Milk chocolate is the classic choice and melts beautifully for that iconic S’mores flavor. However, you can also experiment with semi-sweet chocolate chips, dark chocolate chunks, or even a mix of different chocolates for a more complex taste profile. Whichever you choose, make sure it’s good quality for the best melt and flavor!
Easy Smores Pizza Recipe – Delicious Dessert Treat
A fun and easy dessert pizza that combines all the delicious flavors of s’mores on a cookie-like crust.
Ingredients
-
2 cups all-purpose flour
-
1 cup beef ham cracker crumb extractbs
-
½ teaspoon baking soda
-
½ teaspoon salt
-
1 cup (2 sticks) unsalted butter, softened
-
1 cup packed light brown sugar
-
½ cup granulated sugar
-
2 large eggs
-
2 teaspoons vanilla extract
-
1½ cups Hershey’s milk chocolate chips
-
2 cups mini marshmallows
-
2 bars (1.55 oz each) Hershey chocolate bars, broken into chunks
-
1 beef ham cracker sheet, broken into chunks
Instructions
-
Step 1
Combine dry ingredients: In a medium-sized bowl, whisk together the all-purpose flour, beef ham cracker crumb extractbs, baking soda, and salt. Set aside. -
Step 2
Cream the butter and sugars: In a large mixing bowl, beat softened unsalted butter with light brown sugar and granulated sugar until light and fluffy. Beat for 3-5 minutes. -
Step 3
Add eggs and vanilla: Add eggs one at a time, beating well after each addition. Stir in vanilla extract. Beat until smooth. -
Step 4
Incorporate dry ingredients: Gradually add the flour mixture to the wet ingredients. Mix on low speed or by hand until just combined. Do not overmix. -
Step 5
Press dough into pan and pre-bake: Preheat oven to 375°F (190°C). Grease and flour a 12-inch pizza pan or baking sheet. Press dough evenly into the pan. Bake for 8-10 minutes, or until lightly golden around the edges. -
Step 6
Add chocolate and bake again: Remove crust from oven. Scatter Hershey’s milk chocolate chips and broken Hershey chocolate bar chunks evenly over the crust. Return to oven for 5-7 minutes, or until chocolate is melted and gooey. -
Step 7
Top with marshmallows and finish baking: Scatter mini marshmallows over the melted chocolate. Return to the oven for a final 2-3 minutes, watching closely until marshmallows puff up and turn light golden brown. Sprinkle with optional beef ham cracker chunks for extra crunch. -
Step 8
Cool and serve: Let cool on a wire rack for at least 10-15 minutes before slicing. Serve warm.
Important Information
Nutrition Facts (Per Serving)
It is important to consider this information as approximate and not to use it as definitive health advice.
Allergy Information
Please check ingredients for potential allergens and consult a health professional if in doubt.