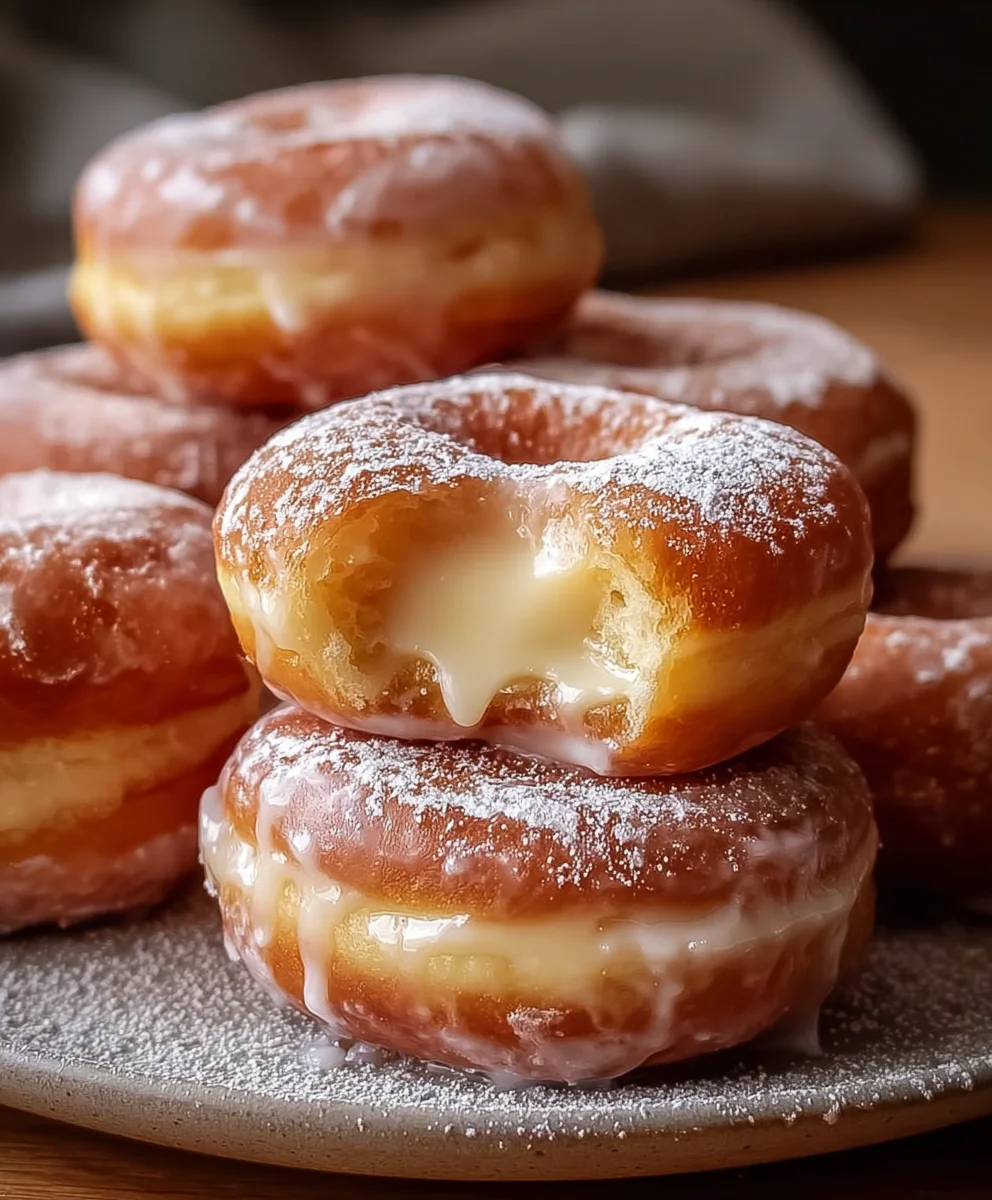
Milky Cheese Donuts-Irresistible Sweet & Savory Treat
Milky Cheese Donuts are the kind of treat that whispers comfort and shouts pure indulgence. If you’ve ever craved a bite of something simultaneously sweet and savory, airy and dense, then you’ve likely experienced the irresistible allure of these delightful doughy wonders. What is it about these particular donuts that captivates our taste buds? Perhaps it’s the playful contrast: the subtle, creamy tang of cheese melting into the sweet, yeasty embrace of a perfectly fried donut. Unlike their purely sweet counterparts, Milky Cheese Donuts offer a sophisticated complexity that keeps you coming back for more. They’re the perfect companion to a steaming cup of coffee on a chilly morning, a delightful surprise at an afternoon tea, or even a unique addition to a brunch spread. Their special magic lies in that unexpected harmony, a testament to culinary creativity that transforms simple ingredients into something truly extraordinary.
Ready to experience this deliciousness yourself?
Let’s dive into how to make your own perfect batch.
Ingredients:
- 2 cups all-purpose flour
- 1 cup whole milk, warm (about 110°F)
- 2 tablespoons sugar
- 2¼ teaspoons active dry yeast (1 packet)
- ½ teaspoon salt
- 1 large egg
- 4 tablespoons unsalted butter, melted
- 1 cup shredded mozzarella cheese
- Vegetable or canola oil, for frying
- Powdered sugar, for dusting (optional)
Preparing the Dough
Activating the Yeast
To begin extract making our delightful Milky Cheese Donuts, we first need to awaken our yeast. In a small bowl or a measuring cup, combine the warm whole milk with the 2 tablespoons of sugar. The milk should feel warm to the touch, like a comfortable bath, but not hot, as excessive heat can kill the yeast. Sprinkle the active dry yeast over the surface of the milk mixture. Give it a gentle stir, just enough to distribute the yeast. Then, let it sit undisturbed for about 5 to 10 minutes. You’ll know the yeast is alive and ready to work its magic when it becomes foamy and bubbly, resembling a frothy cap on top of the liquid. This indicates that the yeast is actively feeding on the sugar and producing carbon dioxide, which is essential for our donuts to rise. If you don’t see any foam, it’s best to discard this mixture and start with fresh yeast, as your yeast may be inactive.
Mixing the Dough Base
Once your yeast is nice and active, it’s time to bring our dough together. In a large mixing bowl, combine the 2 cups of all-purpose flour and the ½ teaspoon of salt. Make a well in the center of the dry ingredients. Pour the activated yeast mixture into this well. Add the large egg and the 4 tablespoons of melted unsalted butter. The melted butter adds richness and tenderness to our donuts.
Now, it’s time to start mixing. Using a wooden spoon or a sturdy spagin extracta, begin to stir the ingredients together, starting from the center and gradually incorporating the flour from the sides. Continue mixing until a shaggy dough forms and most of the flour has been absorbed.
Kneading and Proofing
Developing the Dough’s Structure
Turn the shaggy dough out onto a lightly floured surface. You’ll notice it will be a bit sticky at this stage, and that’s perfgin extractly normal. Begin kneading the dough by pushing it away from you with the heels of your hands, then folding it back over itself. Rotate the dough a quarter turn and repeat. Continue this process of pushing, folding, and turning for about 8 to 10 minutes. The goal is to develop the gluten in the flour, which will give our donuts their characteristic chewy texture. You’ll know the dough is ready when it becomes smooth, elastic, and no longer excessively sticky. It should spring back slowly when you gently poke it with your finger.
The First Rise
Lightly grease a clean large bowl with a little oil or cooking spray. Place the kneaded dough into the bowl, turning it once to coat all sides with the grease. This prevents the dough from drying out as it rises. Cover the bowl tightly with plastic wrap or a clean kitchen towel. Find a warm, draft-free spot in your kitchen – your oven with the light on but the oven off is often an ideal location. Let the dough rise for about 1 to 1.5 hours, or until it has doubled in size. This first proofing is crucial for developing flavor and achieving a light, airy texture.
Incorporating the Cheese and Shaping
Adding the Mozzarella
Once your dough has beautifully doubled in size, it’s time to add the star of our Milky Cheese Donuts: the mozzarella! Gently punch down the risen dough to release the trapped air. Transfer the dough back onto your lightly floured surface. Now, evenly distribute the 1 cup of shredded mozzarella cheese over the surface of the flattened dough. Fold the dough over itself several times to incorporate the cheese as evenly as possible. You might feel some resistance from the cheese, but keep working it in until it’s fairly well distributed throughout the dough. It’s okay if there are a few little pockets of cheese; those will be delicious surprises!
Shaping the Donuts
Now for the fun part – shaping our donuts! You can either roll the dough out to about ½ inch thickness and use a donut cutter, or you can simply form small balls of dough for donut holes. If you’re making traditional donuts, use a floured donut cutter and gently press down to cut out the shapes. If you’re making donut holes, simply pinch off small pieces of dough (about 1-1.5 inches in diameter) and roll them into smooth balls between your palms. Place the shaped donuts or donut holes onto a baking sheet lined with parchment paper, ensuring they have a little space between them.
The Second Rise and Frying
The Final Proof
Cover the shaped donuts loosely with plastic wrap or a kitchen towel. Let them rest and rise again for another 30 to 45 minutes in a warm place. You’ll notice they will puff up slightly again. This second rise is shorter than the first but is important for ensuring a light and fluffy final product. While the donuts are doing their final proof, you can prepare your frying station.
Frying to Golden Perfection
Pour enough vegetable or canola oil into a heavy-bottomed pot or deep fryer to reach a depth of about 2-3 inches. Heat the oil over medium heat to approximately 350°F (175°C). It’s important to maintain this temperature; too hot and the donuts will burn on the outside before cooking through, and too cool and they will absorb too much oil and become greasy. Carefully slide a few donuts into the hot oil, being careful not to overcrowd the pot. Fry them for about 1-2 minutes per side, or until they are a beautiful golden brown. Use a slotted spoon or spider strainer to gently flip them and remove them from the oil.
Finishing Touches
Draining and Dusting
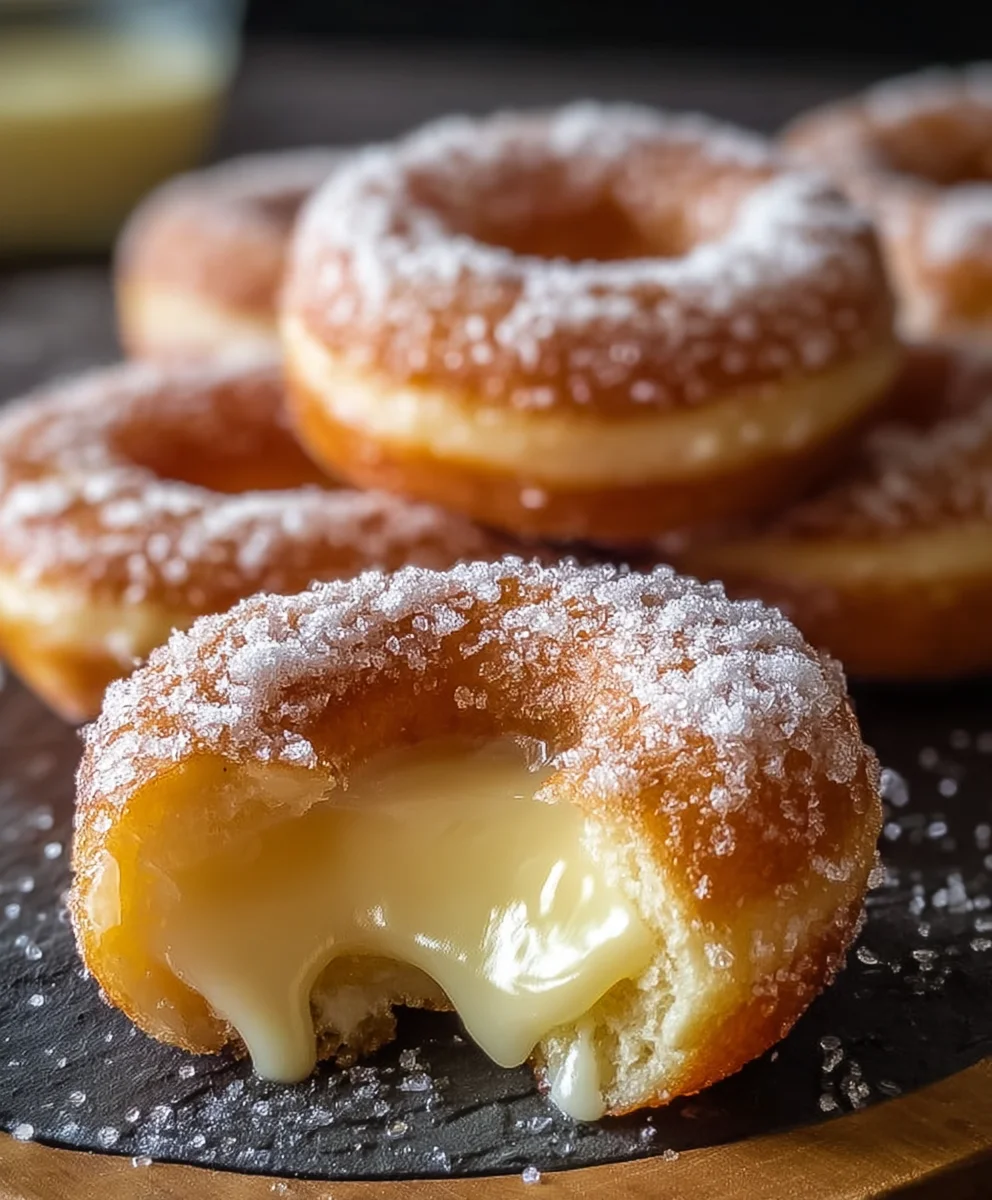
As you remove the perfectly fried donuts from the oil, place them on a wire rack set over a baking sheet to allow any excess oil to drain off. This step is crucial for achieving that delightful crisp exterior without a greasy mouthfeel. If you’re planning to dust your Milky Cheese Donuts with powdered sugar, do so while they are still warm. You can either place the warm donuts in a shallow dish with powdered sugar and gently toss them, or simply sift powdered sugar generously over the top. This optional dusting adds a touch of sweetness and visual appeal that complements the savory cheese beautifully. Serve these warm and enjoy the delightful cheesy pull!
Conclusion:
And there you have it – your guide to creating delicious Milky Cheese Donuts! We’ve walked through each step, from preparing the dough to achieving that perfect golden-brown finish. These delightful donuts are a wonderful treat for any occasion, whether it’s a weekend brunch, a special dessert, or simply a way to brighten your day. Their unique combination of creamy cheese and sweet dough makes them truly irresistible. I hope you enjoy making and sharing these with your loved ones. Don’t be afraid to experiment with the glaze or toppings to make them uniquely yours!
For serving, these Milky Cheese Donuts are best enjoyed warm, perhaps with a dusting of powdered sugar, a drizzle of honey, or even a dollop of whipped cream. They also pair beautifully with a cup of coffee or tea.
Feel free to get creative with variations! You could add a pinch of nutmeg to the dough for an extra warm spice note, or perhaps incorporate finely chopped herbs like chives or parsley into the cheese filling for a savory twist. Different glazes, such as a simple sugar glaze or a cream cheese frosting, can also add another layer of flavor.
Don’t be intimidated by the process; baking should be fun and rewarding. So, gather your ingredients, put on your favorite music, and dive into the joy of making these wonderful Milky Cheese Donuts. I’m confident you’ll be delighted with the results!
Frequently Asked Questions:
Can I make the dough ahead of time?
Yes, you absolutely can! Once the dough has completed its first rise, you can punch it down, wrap it tightly, and store it in the refrigerator for up to 24 hours. Let it come to room temperature for about 30-60 minutes before proceeding with shaping and frying.
What kind of cheese is best for Milky Cheese Donuts?
For these donuts, a mild, creamy cheese works best. Cream cheese is an excellent choice as it melts beautifully and adds a wonderful richness without overpowering the other flavors. Some people also enjoy using a blend of cream cheese and a mild cheddar for a slightly more pronounced cheesy flavor.
Milky Cheese Donuts-Irresistible Sweet & Savory Treat
Irresistible sweet and savory donuts with a delightful cheesy pull, perfect for any occasion.
Ingredients
-
2 cups all-purpose flour
-
1 cup whole milk, warm (about 110°F)
-
2 tablespoons sugar
-
2¼ teaspoons active dry yeast (1 packet)
-
½ teaspoon salt
-
1 large egg
-
4 tablespoons unsalted butter, melted
-
1 cup shredded mozzarella cheese
-
Vegetable or canola oil, for frying
-
Powdered sugar, for dusting (optional)
Instructions
-
Step 1
Activate the yeast by combining warm milk, sugar, and active dry yeast in a bowl. Let it sit for 5-10 minutes until foamy. -
Step 2
In a large bowl, combine flour and salt. Make a well and add the activated yeast mixture, egg, and melted butter. Mix until a shaggy dough forms. -
Step 3
Knead the dough on a lightly floured surface for 8-10 minutes until smooth and elastic. Place in a greased bowl, cover, and let rise in a warm place for 1-1.5 hours, or until doubled. -
Step 4
Punch down the dough, flatten it, and evenly distribute the shredded mozzarella cheese. Fold the dough to incorporate the cheese. -
Step 5
Shape the dough into donuts or donut holes. Place on a parchment-lined baking sheet and let rise for another 30-45 minutes. -
Step 6
Heat vegetable or canola oil to 350°F (175°C) in a deep pot. Fry donuts for 1-2 minutes per side until golden brown. -
Step 7
Drain fried donuts on a wire rack. Dust with powdered sugar while warm, if desired.
Important Information
Nutrition Facts (Per Serving)
It is important to consider this information as approximate and not to use it as definitive health advice.
Allergy Information
Please check ingredients for potential allergens and consult a health professional if in doubt.